
Email Signatures
Step-by-Step Instructions
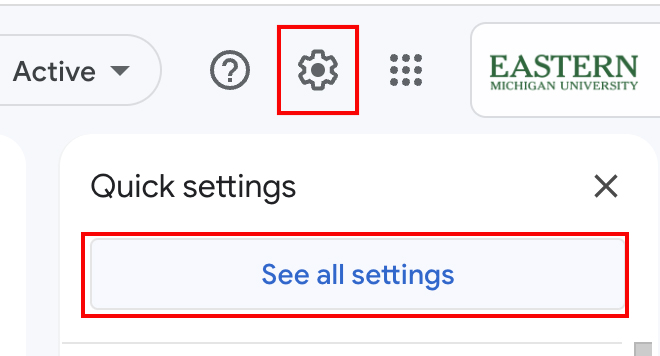
- First, begin by opening Gmail in your browser. In the top righthand corner, click on the settings tool button and under Quick Settings, select See All Settings.
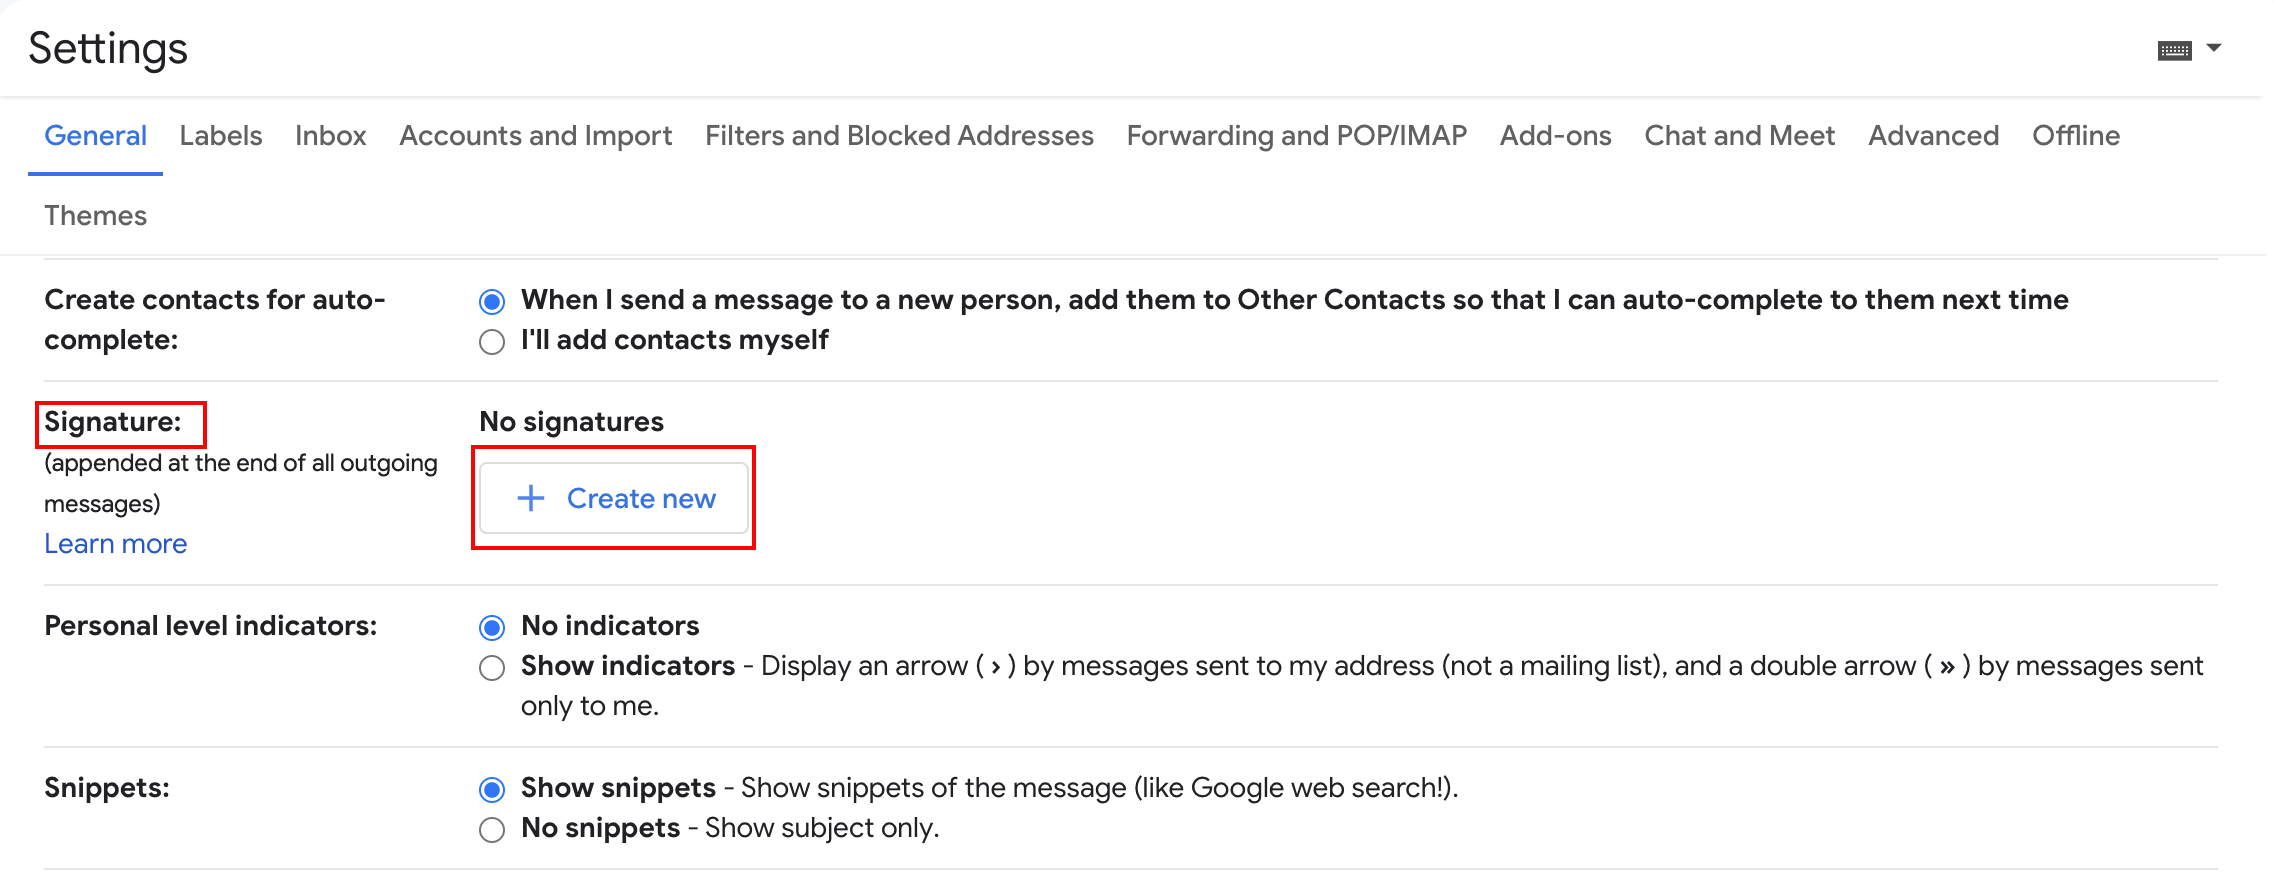
2. Scroll down to the row titled Signature. Select Create new.
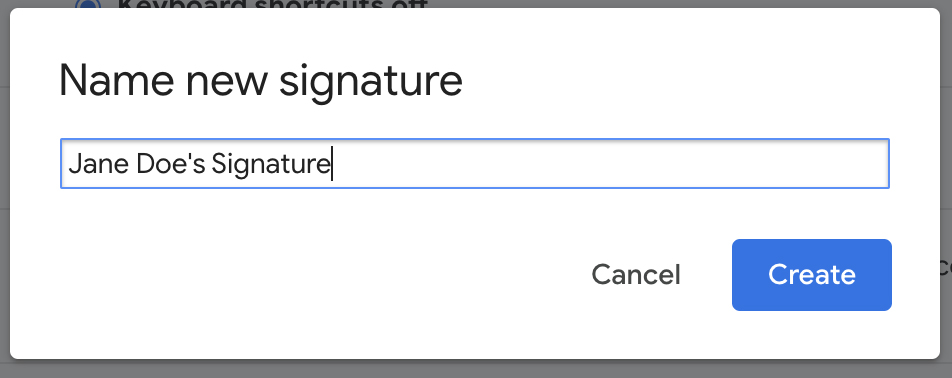
3. From here, name this anything you like. Click Create.
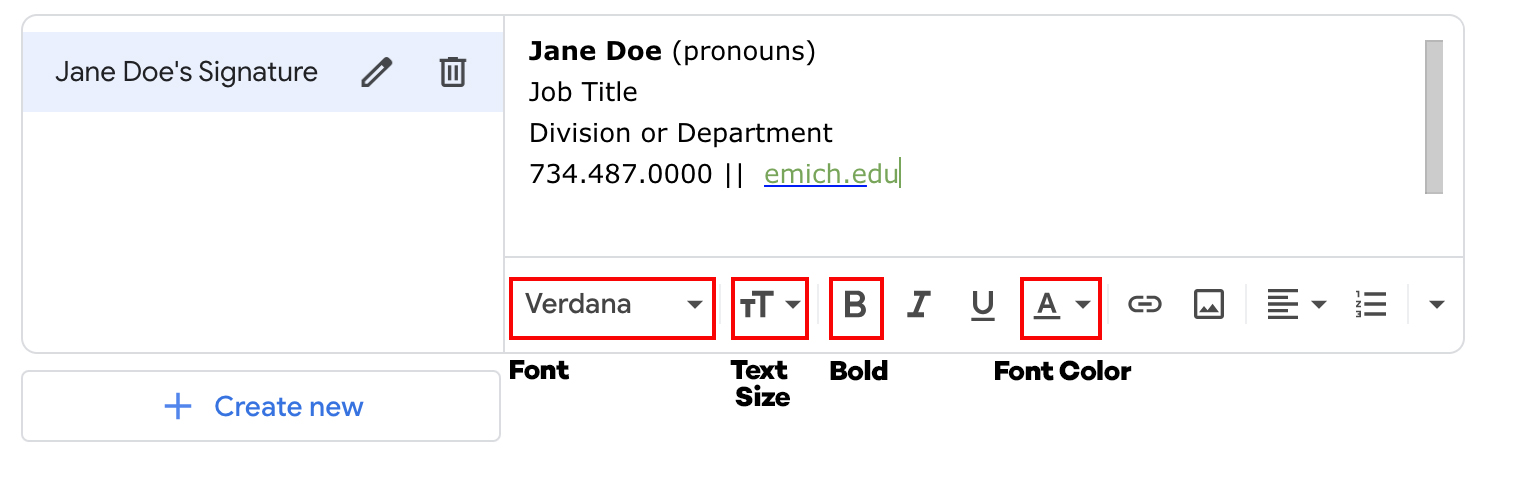
4. Next, copy all of the information below and paste it into the text box in the Signature row.
Jane Doe (pronouns)
Job Title
Division or Department
734.487.0000 || emich.edu
5. Customize the template with your information.
6. Be sure of the following specifications:
- Name should be bolded.
- Font: Verdana
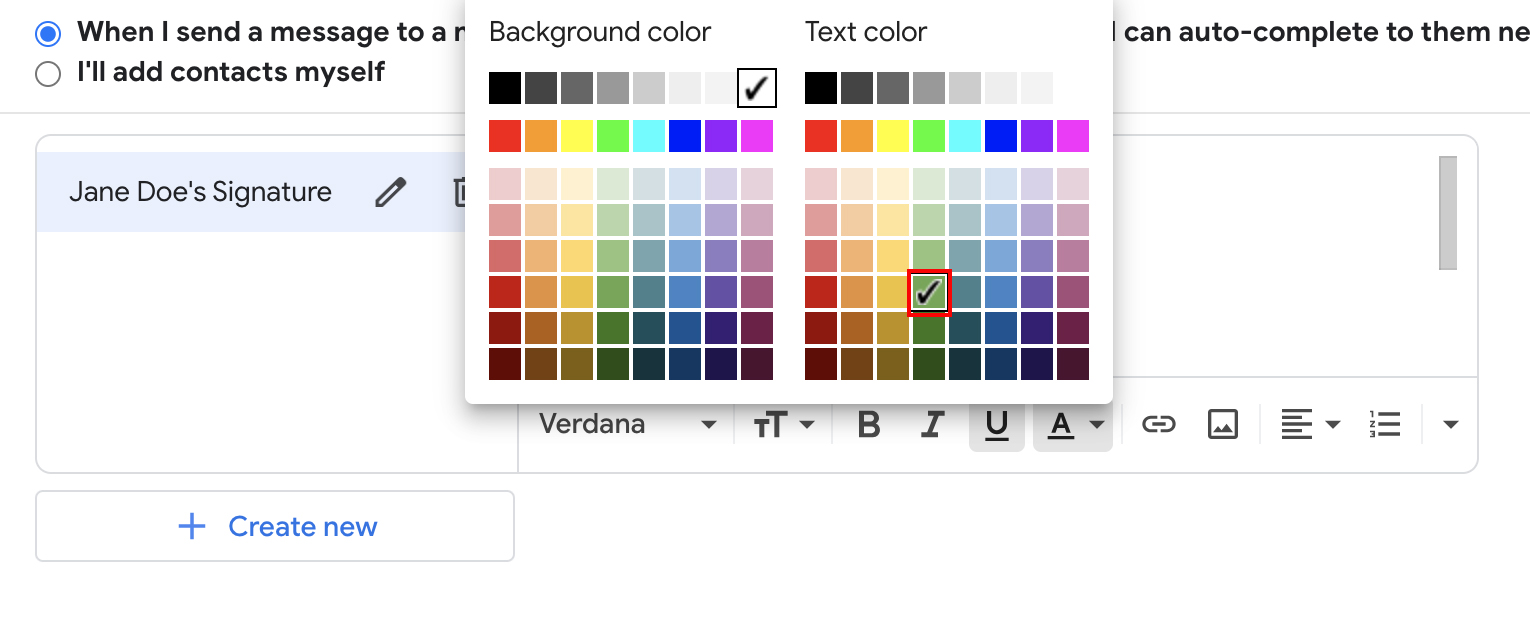
- Font Size: Normal (small for pronouns)
- Color: Black (emich.edu is the third to darkest green)
7. Next, make sure your cursor is at the end of your signature and hit enter to put the cursor on its own line.
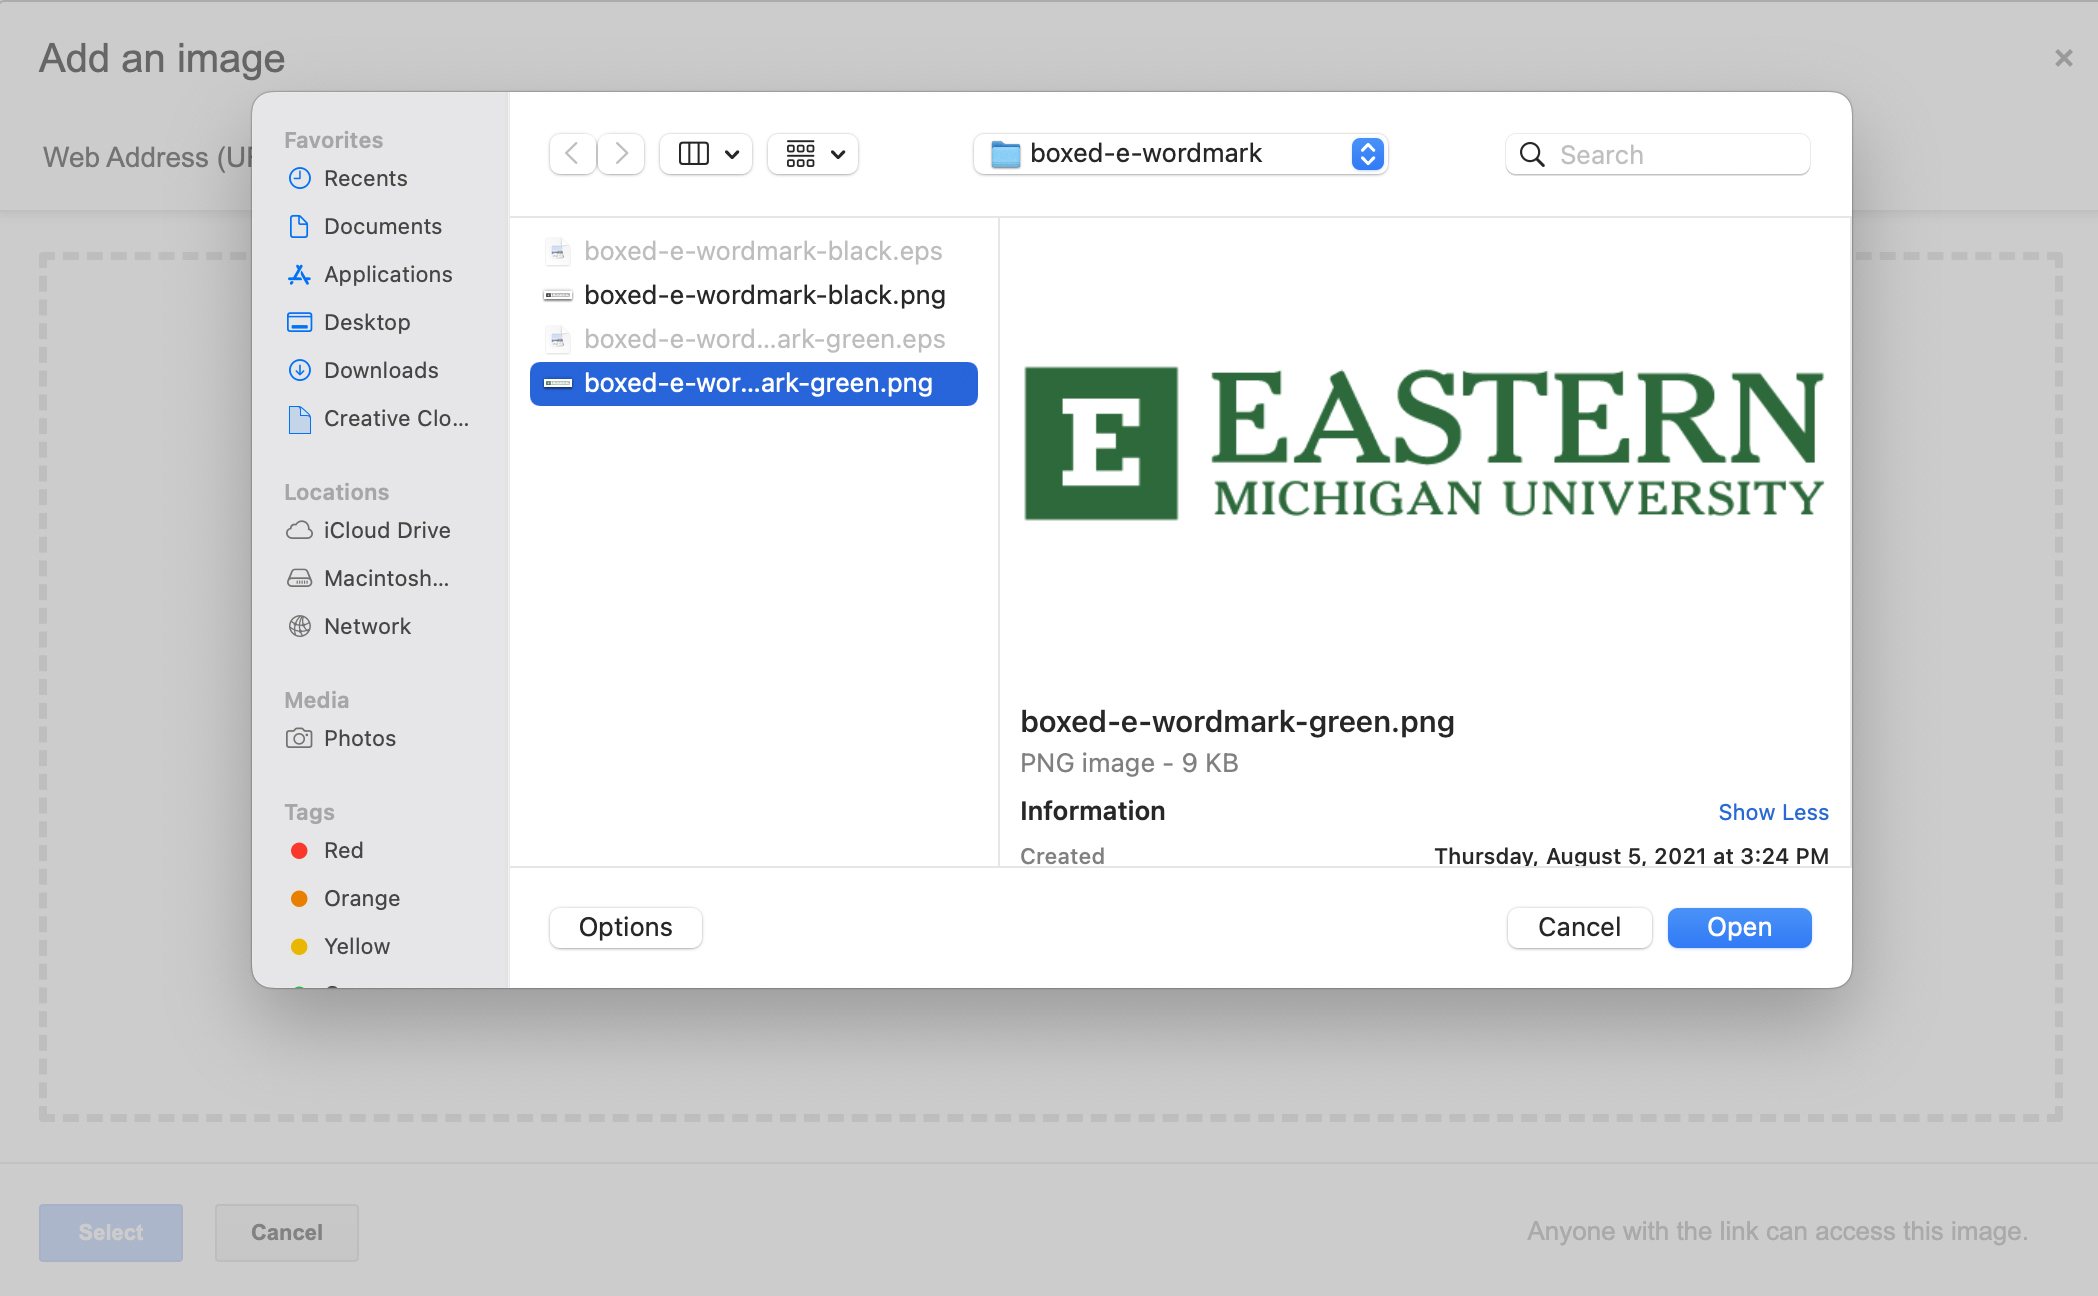
8. Download the Boxed E Wordmark files to your computer.
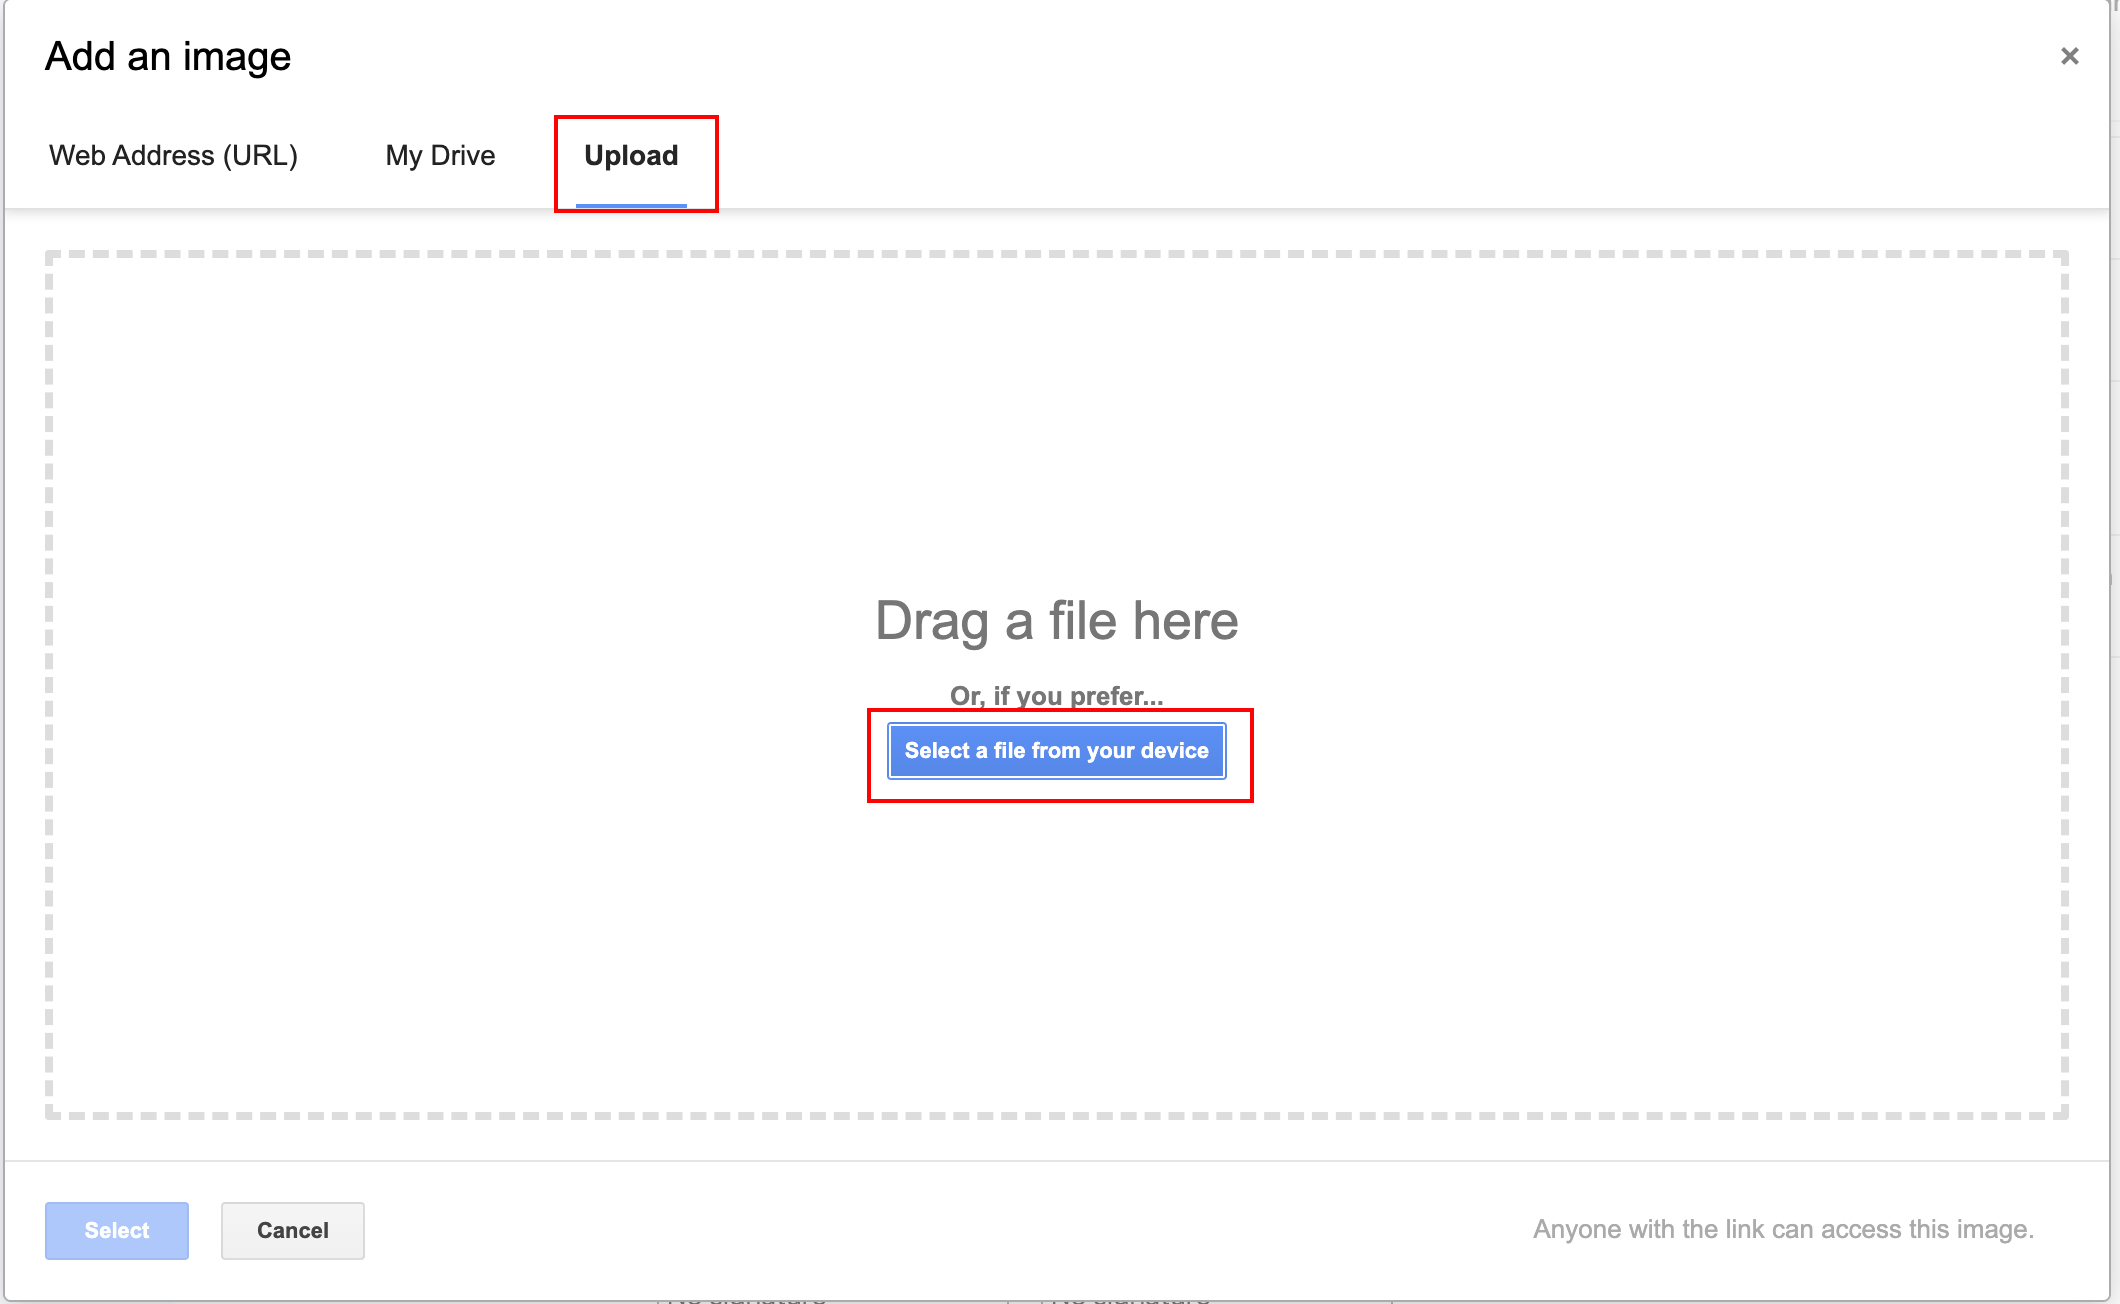
9. At the bottom of the text box containing your signature, click the insert image button.

10. On the top navigation bar, click Upload and Select a file from your device – from here, browse your downloads folder to select your image.
11. Once you find your Boxed E Wordmark to add, select it and click open. This will insert the image into your textbox.
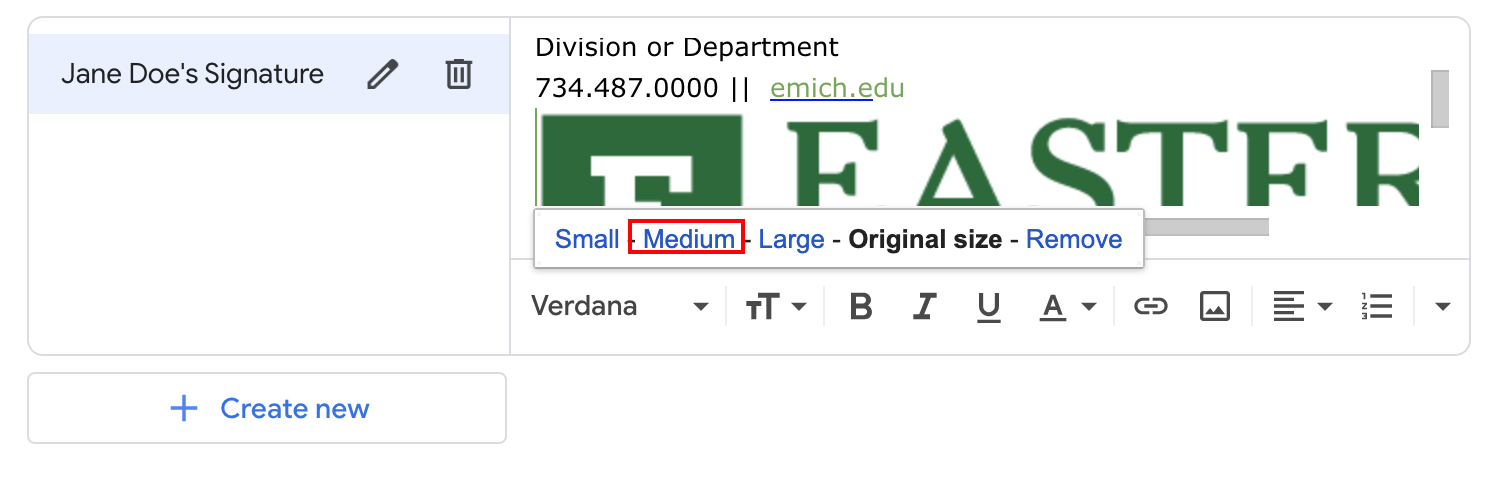
12. From here, left click on the Block E Wordmark. This will open a menu containing size options. Select Medium.
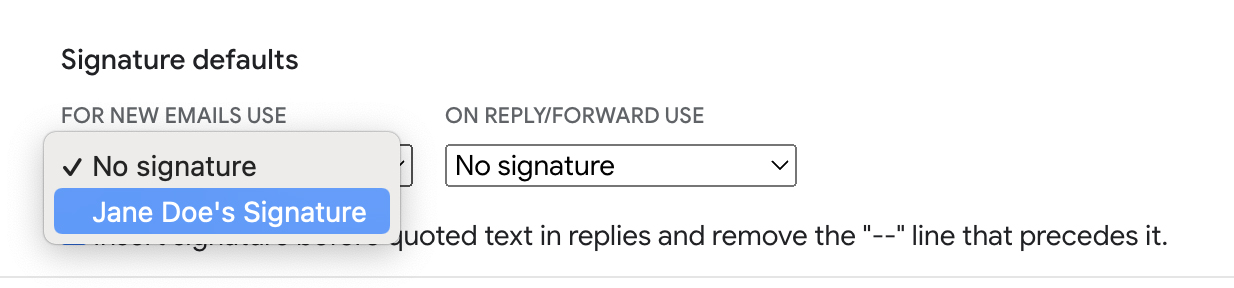
13. Once you’ve adjusted all the information from the template, select where you’d like your new signature to appear. Using the drop-down menus under Signature Defaults, select the title of the signature you just created(ie. Jane Doe’s Signature) under For new emails use and under For reply/forward use.
14. Now, your signature should look like the example below, customized with your information, of course! (Please note the whole EMU logo cannot be seen in this view)

15. Scroll down to the very bottom of the settings page and click Save Changes. If this step is skipped, the Signature will not save.