Making an Accordion in Omni CMS
Step-by-Step Instructions
Follow these directions to make an accordion in Omni CMS:
- From an editable region on the page, click the insert snippet button on the edit toolbar.

- The snippets window is displayed. Select accordion, then click insert.
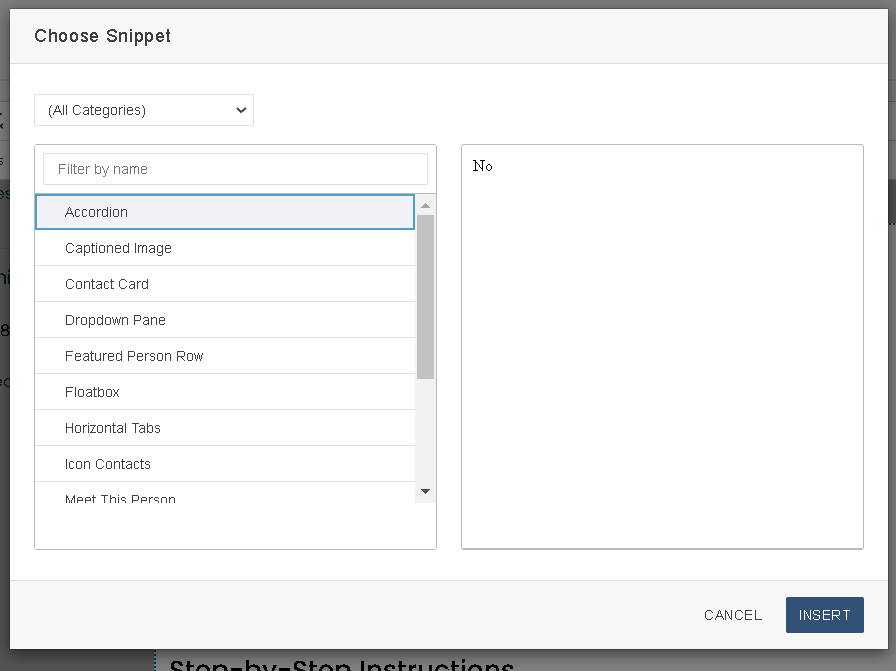
- The accordion is inserted in the selected editable region.
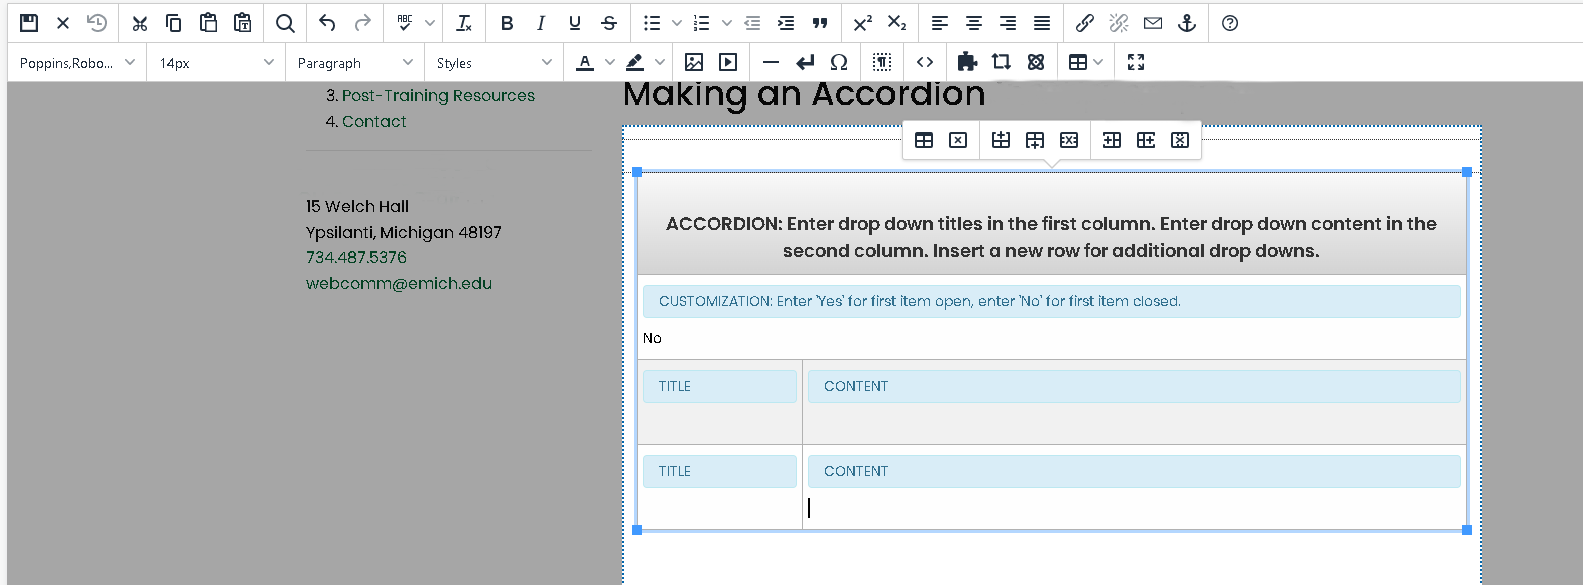
- Enter your desired header into the field on the left side, under Title. This is what you will click on to reveal the content underneath.
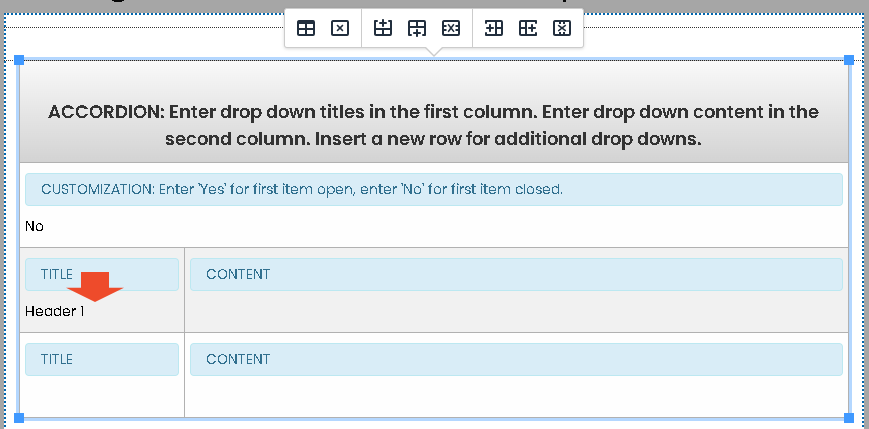
- Enter the content you want to see when you click on the header, in the Content box.
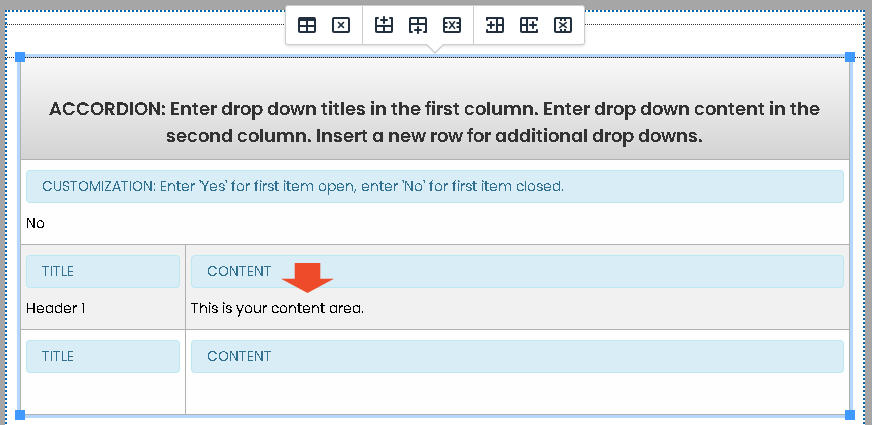
- To create another row, right click where you want to insert it, and hover over the Row option.
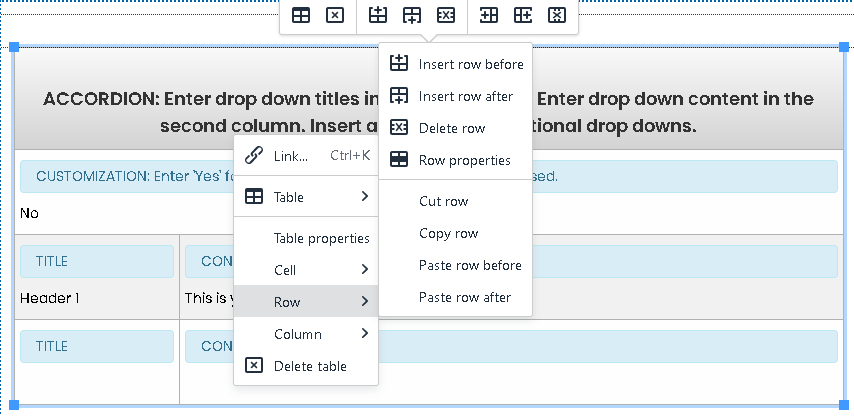
- Once the row options pop up, select your choice of Insert Row Before or Insert Row After, depending on what you need. You can also move your cursor to the last box and press tab to add a new row.
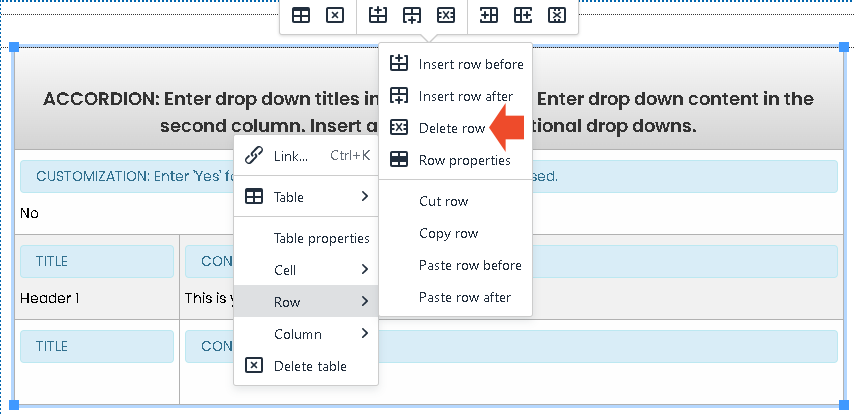
- To delete a row, right click on the row you want to delete, and hover over the Row option, then select Delete Row.
- Often when entering content into the accordion, it will add a space before, so just check to make sure it hasn’t done that.


- If you want the first bar of your accordion to automatically open, you can type “Yes” into the Customization box at the top.
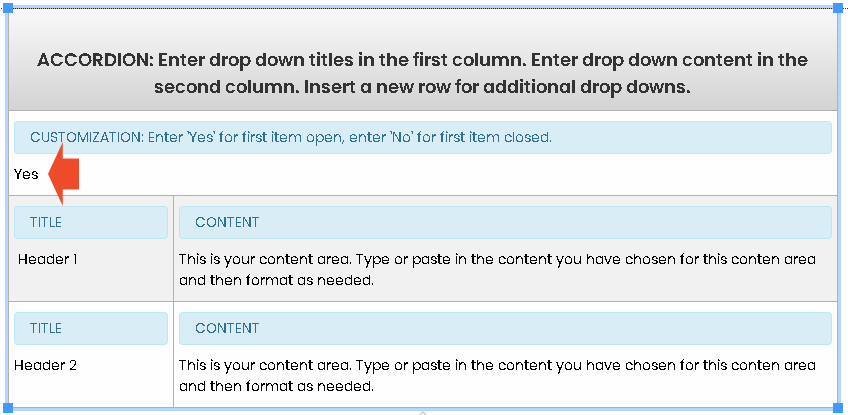
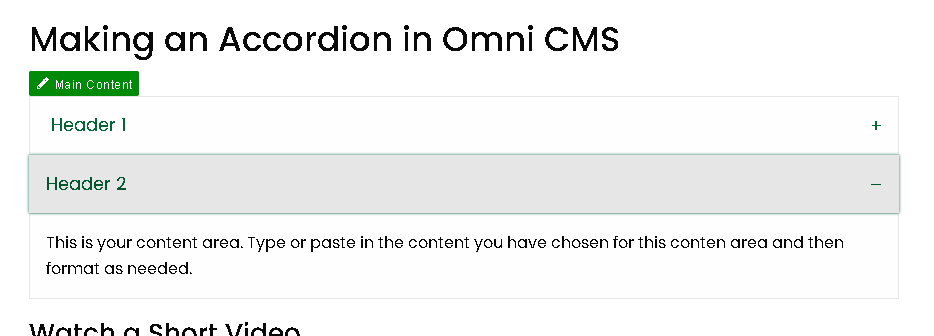
Once saved, it will look like this, with the first item of content open as default.
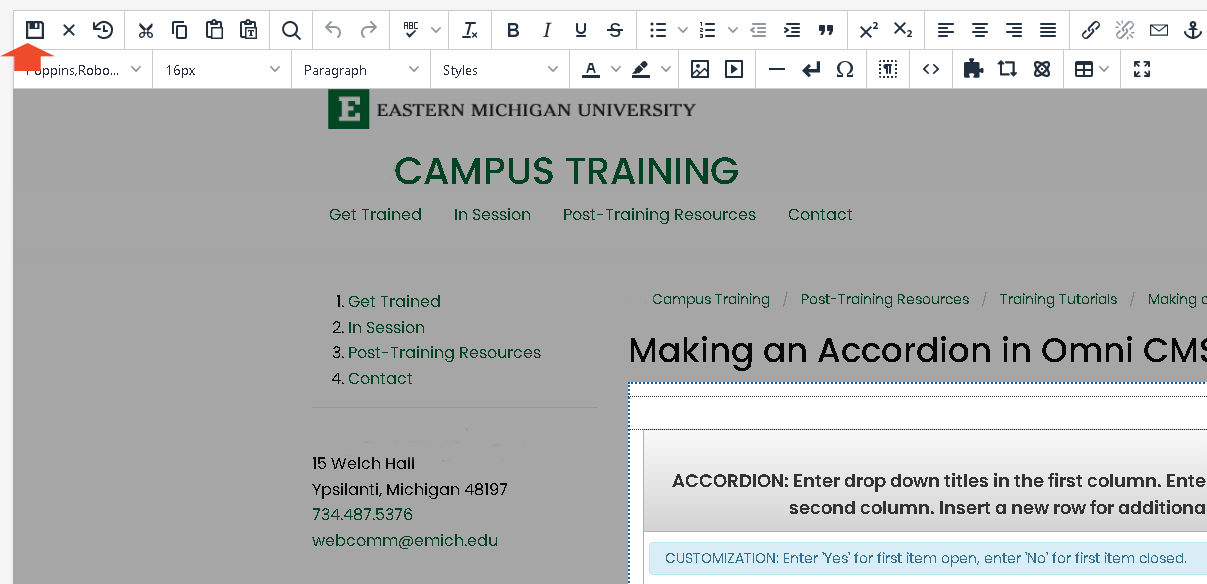
- When you are finished, click the save button on the toolbar.
- Now, the headers can be clicked on to reveal their content.
