Inserting an Image in a Page in Omni CMS
If your site is in the new template (white top design), please only add images using a snippet. Snippets that include images include: captioned image (most common), contact card and featured person row.
Step-by-Step Instructions
An approver must upload the images to Omni CMS before it is available for use.
Follow these directions to insert an image in a page in Omni CMS:
- Make sure your image meets University guidelines for images.
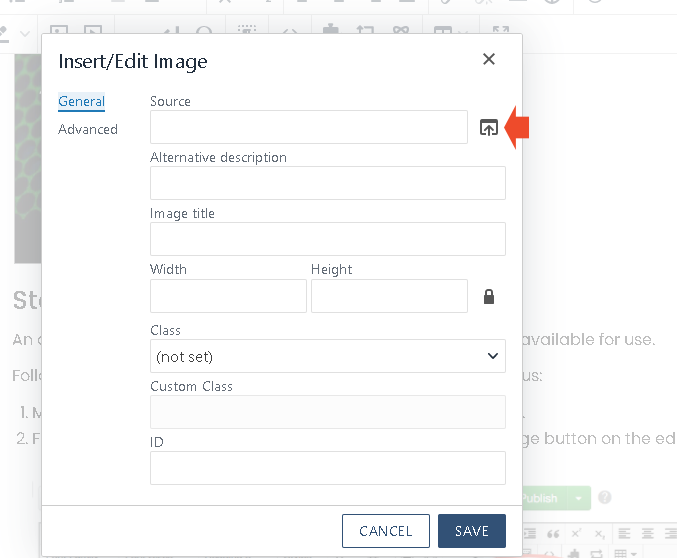
- From an editable region on the page, click the insert/edit image button on the edit toolbar.

- The insert/edit Image window is displayed. Click the browse button.
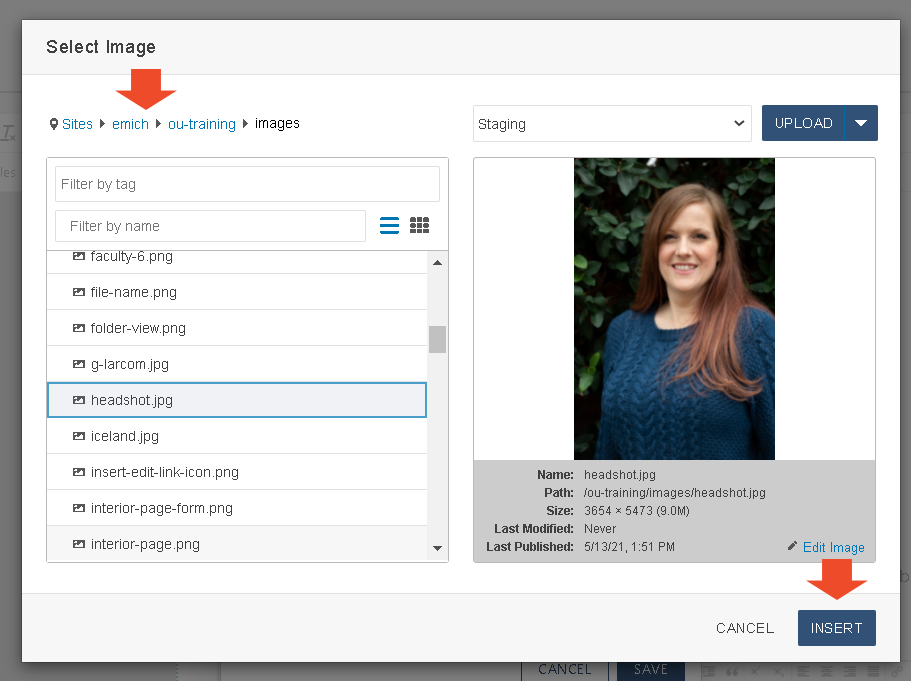
- The OmniBrowser window is displayed. Locate and select the desired image in the file browser list.Note: Images are stored in a folder called images and documents (e.g., PDF files) are stored in a folder called docs. Both of these folders can be found one level below the top in the directory structure or in the individual subdirectories, depending on your file structure setup. An approver must upload the image to Omni CMS before it is available for use.
- Navigate to the images folder you want to work with and click the insert file button.
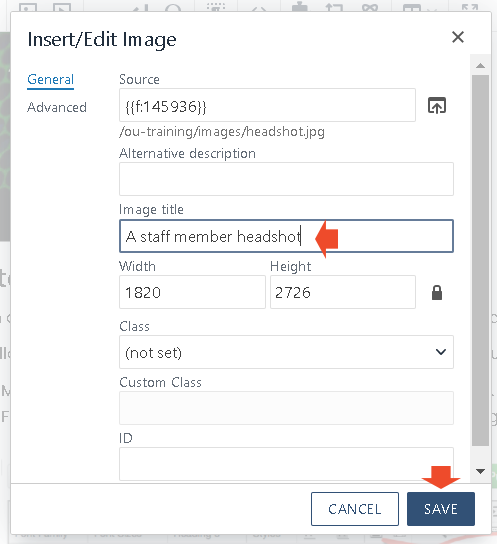
- The insert/edit Image window is displayed. Type a description in the image description field.
- Click the insert button.
- The image is inserted into the selected editable region. When you are finished, click the save button on the toolbar.

- The preview page is displayed with inserted image.