
Submitting an Event to the University Calendar
If you're planning an event and want to get the word out, please fill out the EMU Today event form and your event will appear on the university-wide calendar.
Helpful Tips
A few tips to remember: please be sure to check the date and time and make sure to choose a mini calendar at the bottom of the form if you have an individual calendar on your site. Once you submit your event, we'll review and approve it.
Instructional Video
Step by Step Instructions
Creating and Submitting an Event
- Select "Calendar" from the upper right of any emich.edu page.

- This takes you to the university calendar page. Click on the "Submit an Event" button in the upper right of the page.

- This will take you to a login page where you will input your NetID and password.
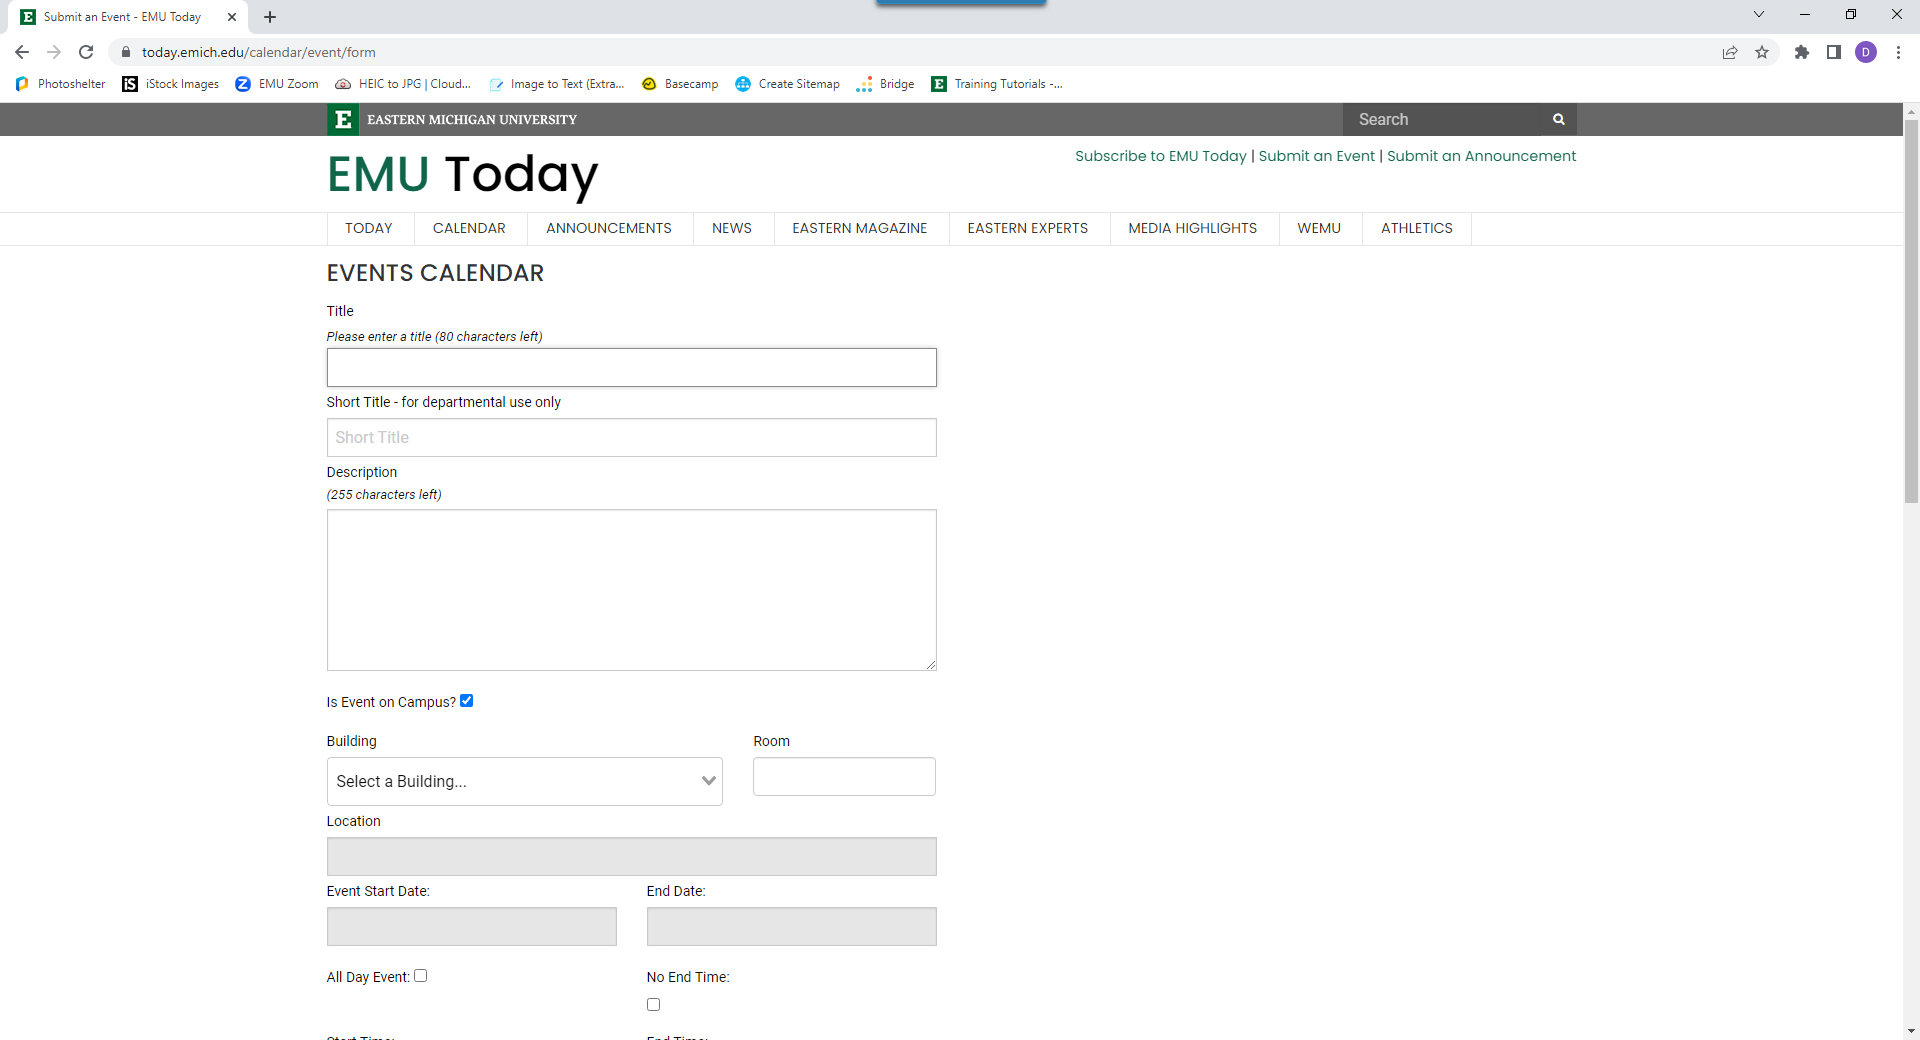
- Once you log in you can enter your event details in the form.
- The Mini Calendar selection is only for departments who have worked with the Integrated Content Team to set up a category for their events so that a mini calendar can be added to their website.
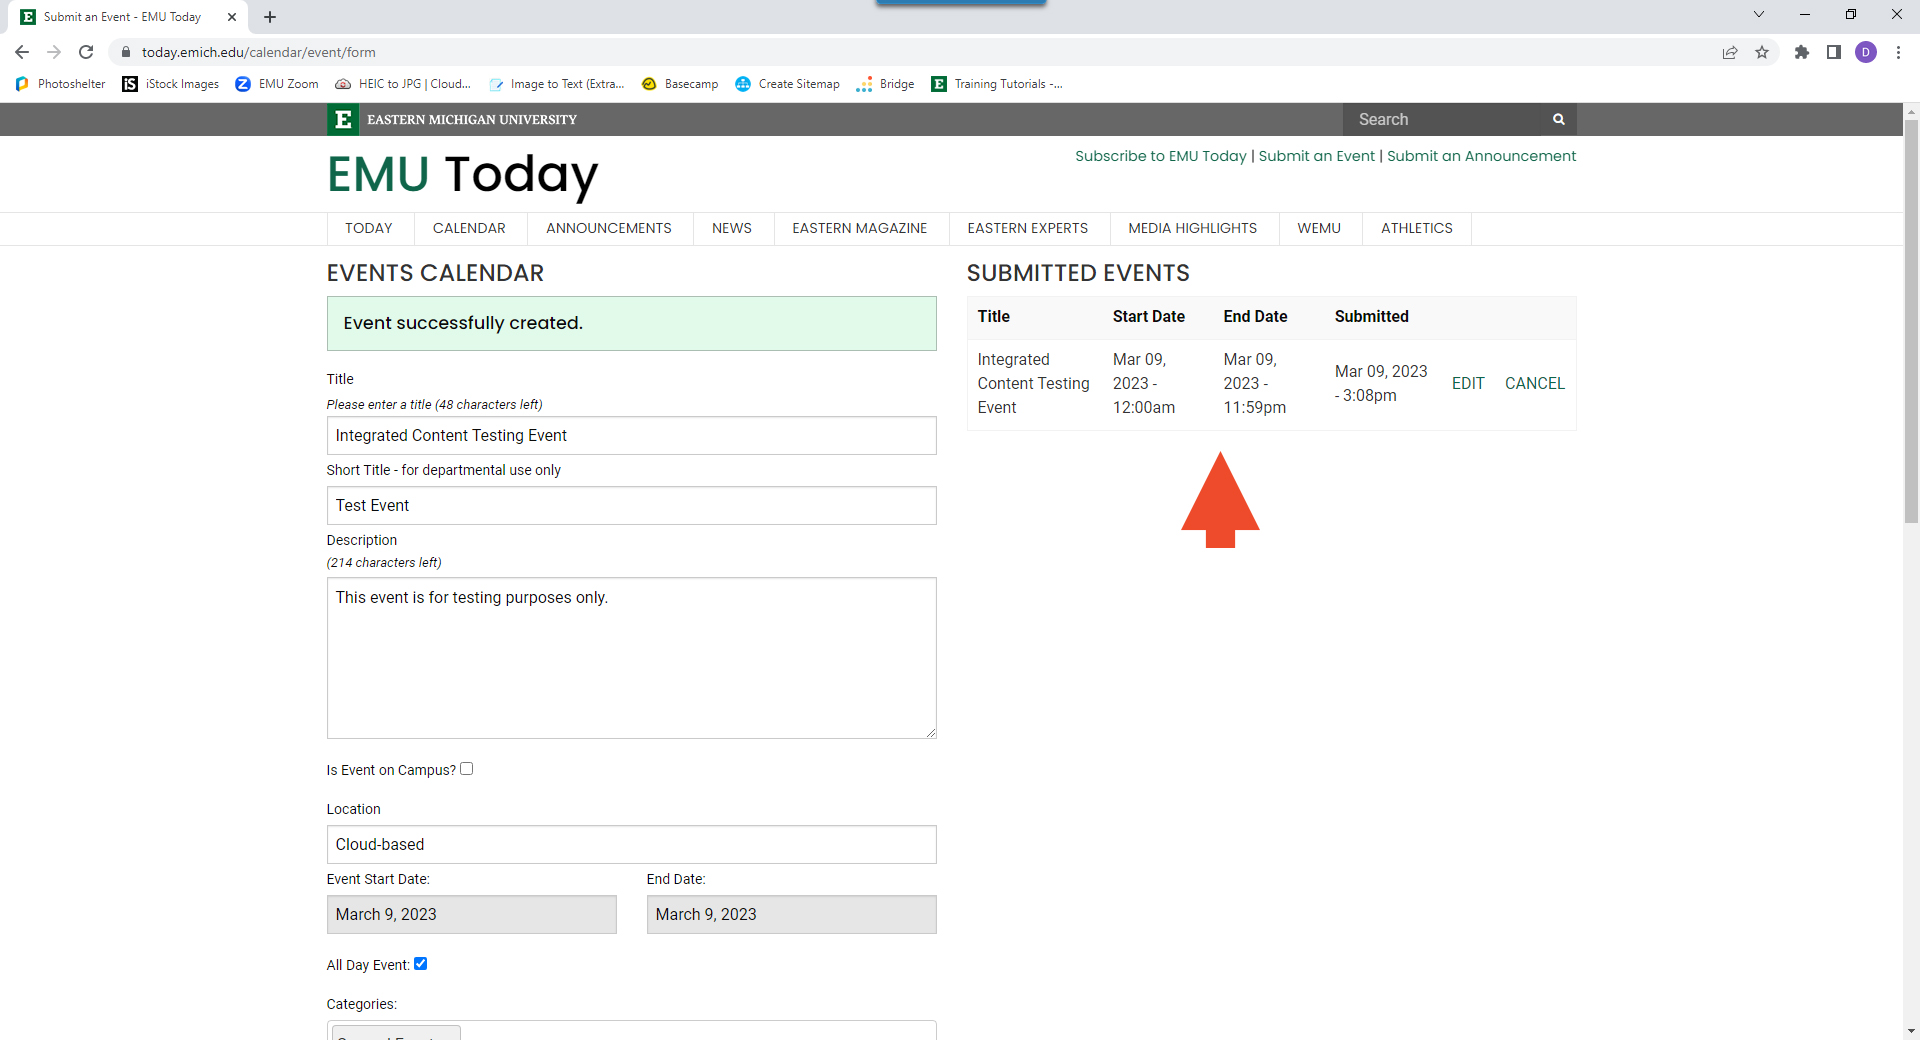
- When you have entered all your event details, Click the Submit for Approval button at the bottom of the form.
- After you have submitted your event, you will see it on the upper right of the form page.
- Please allow a few days for staff to review and approve your event.
Editing, Canceling, or Deleting a Submitted Event
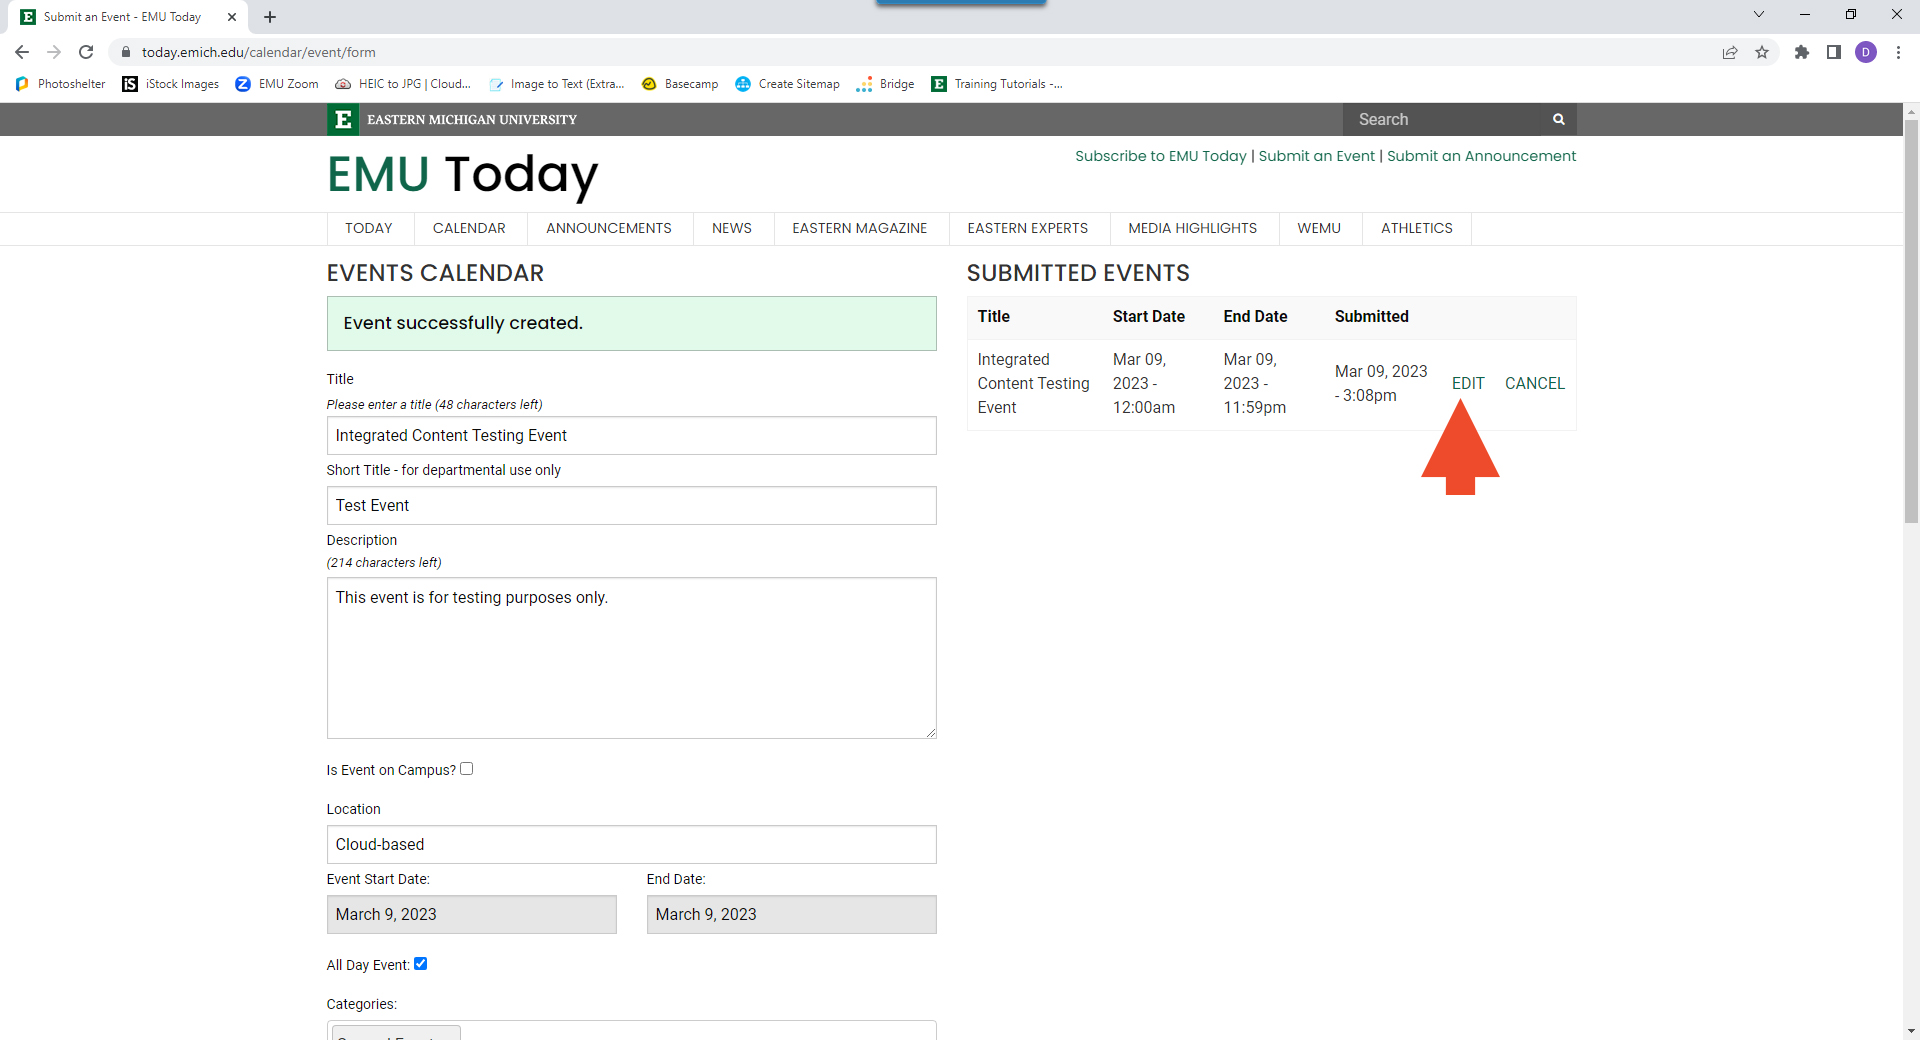
- If needed, you can edit, cancel, or delete an event following submission.
- In the upper right of the form choose "Edit" or "Cancel" to the right of the specific event entry.
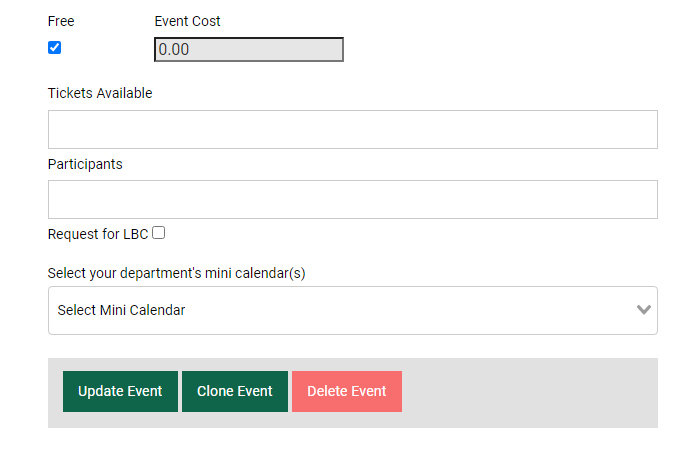
- If you chose "Edit," update the details and then click the Update Event button at the bottom of the event form.
- You will see an "Event successfully updated!" message at the top of the event form.
- Please allow a few days for staff to review and approve your updated event.
- If you decide to permanently delete an event, use the Delete Event button at the bottom of the event form. Just make sure you really want to delete the event because it will be deleted permanently.
- It will ask you to confirm you are sure you want to delete the event.
Recurring Events
- While editing an event, you can also create recurring events using the existing information.
- Change any information you need to, such as the date.
- Scroll to the bottom of the edit event page and click on the Clone Event button.
- It will appear in Submitted Events in the upper right side of the page, below the previous event.
- Please allow a few days for staff to review and approve your updated event.