Adding the Featured Person Row Snippet
A featured person row snippet is used to highlight a person, providing their name and either a comment from them or a bio.
Note: Before adding a featured person row snippet, you will need to upload an image of the featured person. Use the link below to learn how to upload an image to Omni CMS:
Uploading an Image to Omni CMS
Step-by-Step Instructions
1. Click into an editable field in Omni CMS. Next, click the Insert Snippet icon in the Omni CMS edit toolbar.

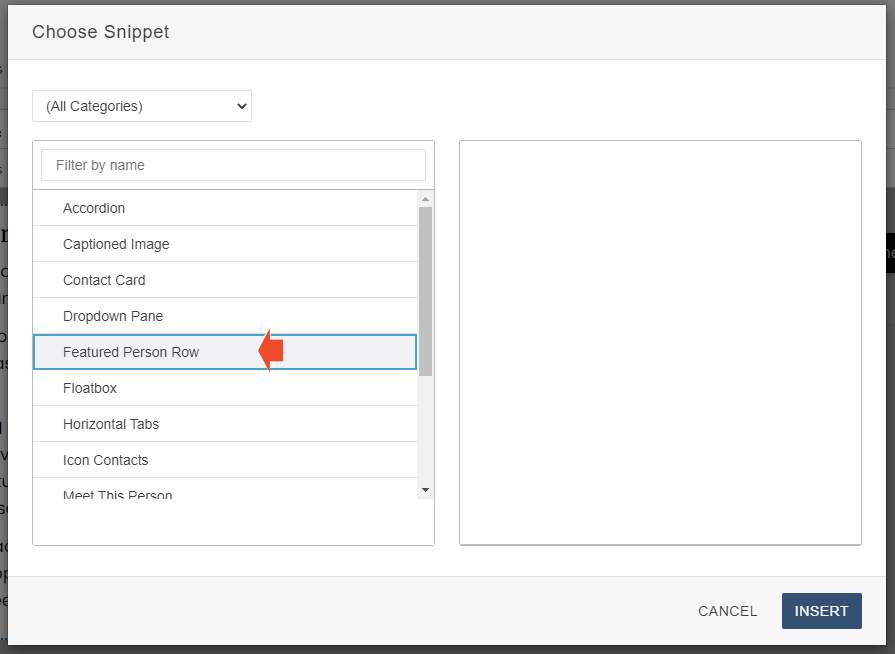
2. Select "Featured Person Row".
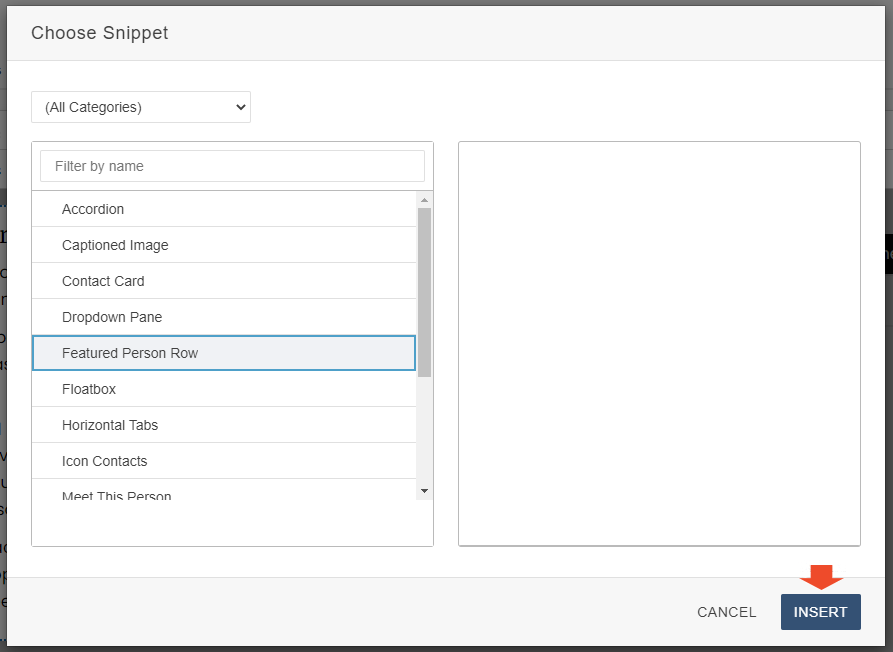
3. Click "Insert" in the bottom right of the window.
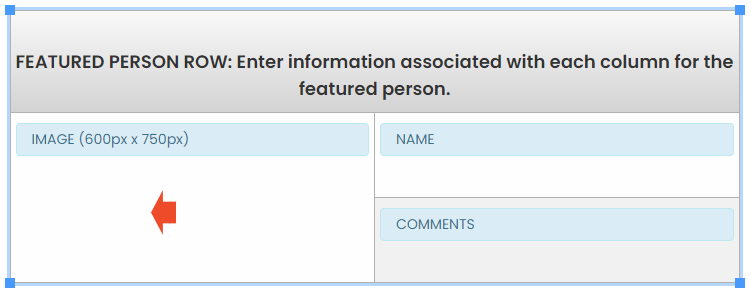
4. Click into the "Image" section of the featured person row snippet.
5. Click the "Insert/Edit Image" icon in the Omni CMS edit toolbar.

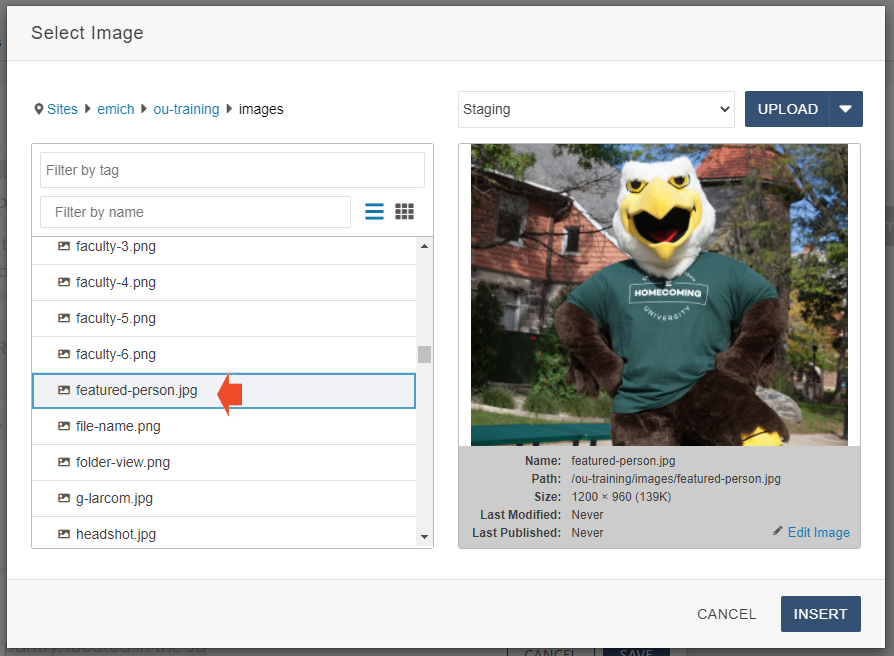
6. Select the image to insert from the pop-up window.
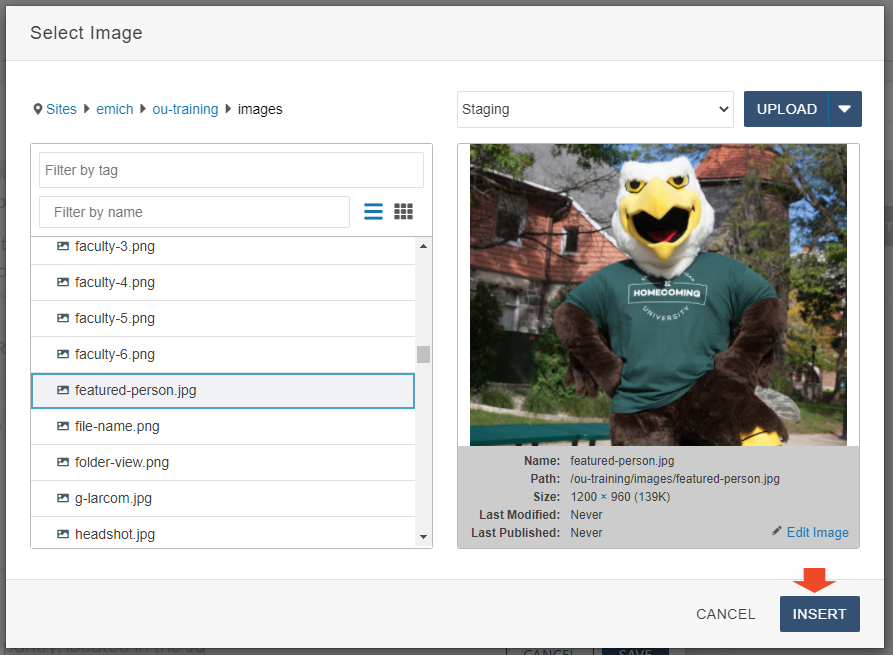
7. Click "Insert" in the bottom-right corner of the window.
8. After the image is selected, add a description that describes the image. This should be a full sentence. Image descriptions are used for accessibility options for users with visual impairments.
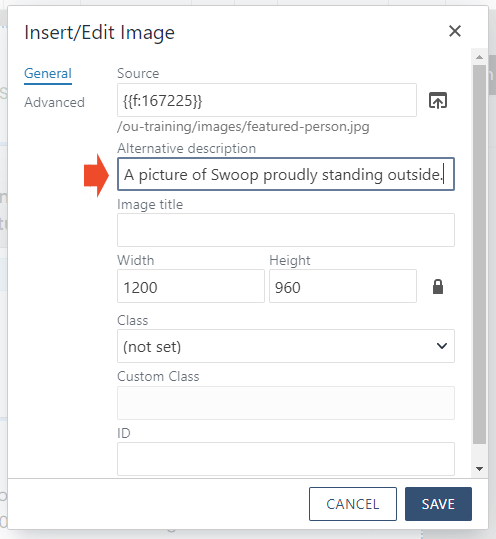
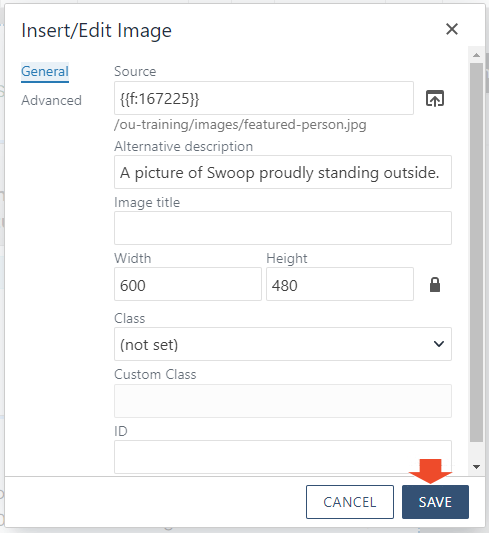
9. Click "SAVE". The inserted image will appear in the "Image" section of the featured person row snippet.
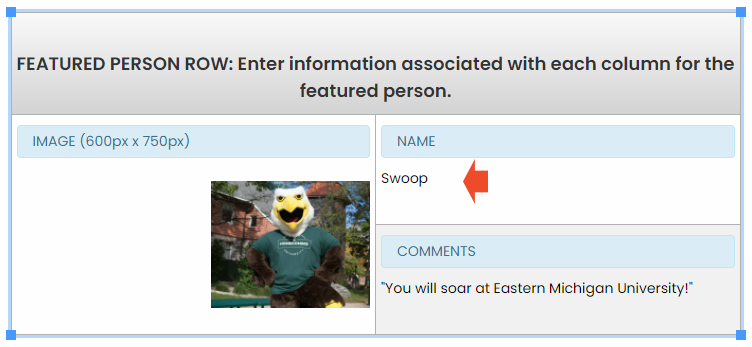
10. Click into the "Name" section and type the person's name.
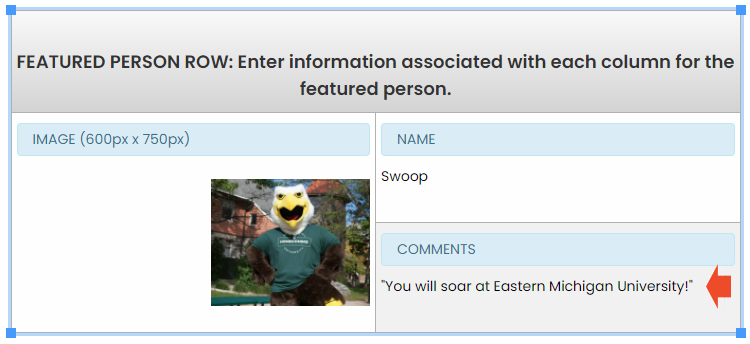
11. Click into the "Comments" section and type information about the person, a quote from them, a bio, etc.
12. If you have more than one featured person, insert a horizontal line between each.

13. Click into empty space in the editable field within Omni CMS then click the "Save and Exit" icon in the edit toolbar to save your work.

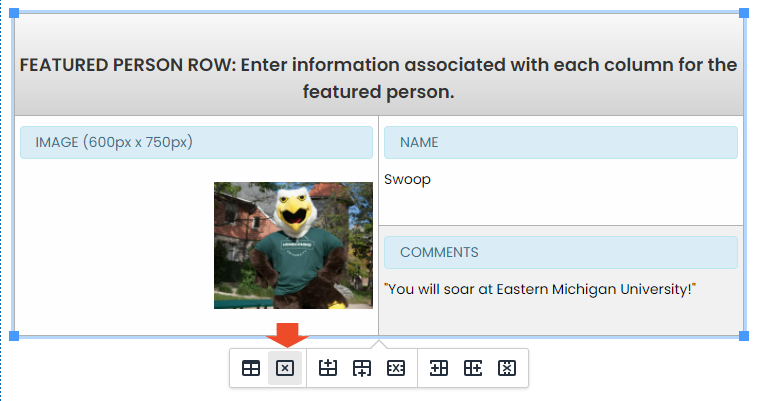
14. Your featured person row is now complete and will look similar to the example at the bottom of this page. If you have more than one featured person, it will look like the page found at the link below:
15. If you need to delete a featured person row snippet, right-click on it while in edit mode in Omni CMS and select "Delete Table".