
How to Overwrite a Document in Omni CMS
Step-by-Step Instructions
If you wish to update a document that is in Omni CMS by overwriting it, follow these instructions:
- Name your document with the same name as the one you plan to overwrite. It should be all lowercase and use dashes for any necessary separation.
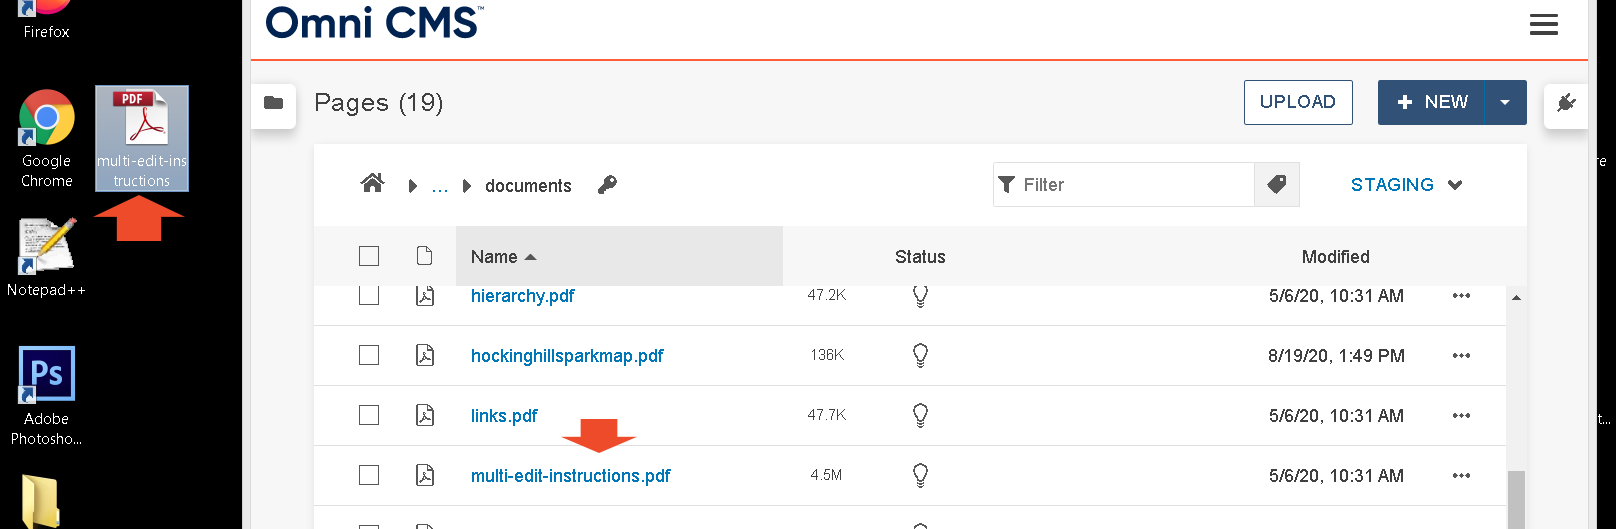
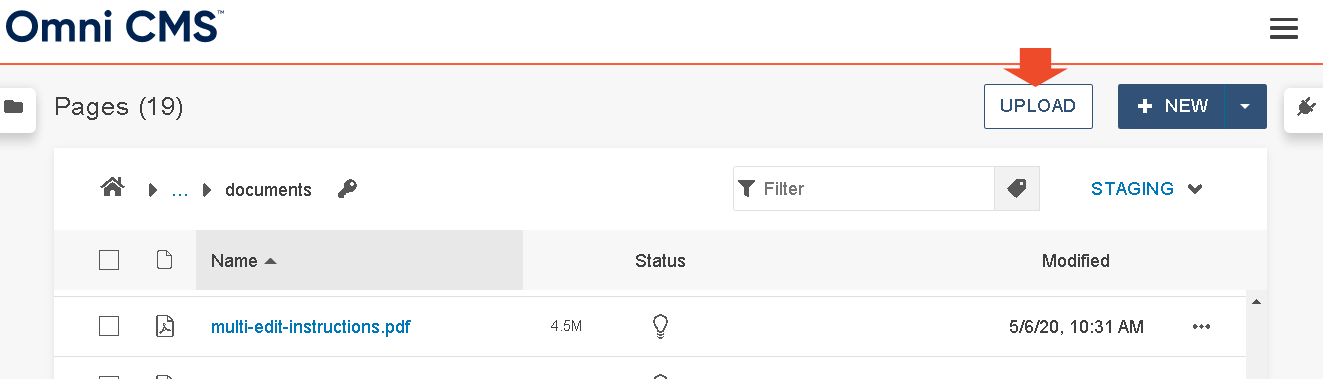
- In Omni CMS, click the Upload button. Make sure you are in Staging, not Production.
A window will pop up, it will look like this: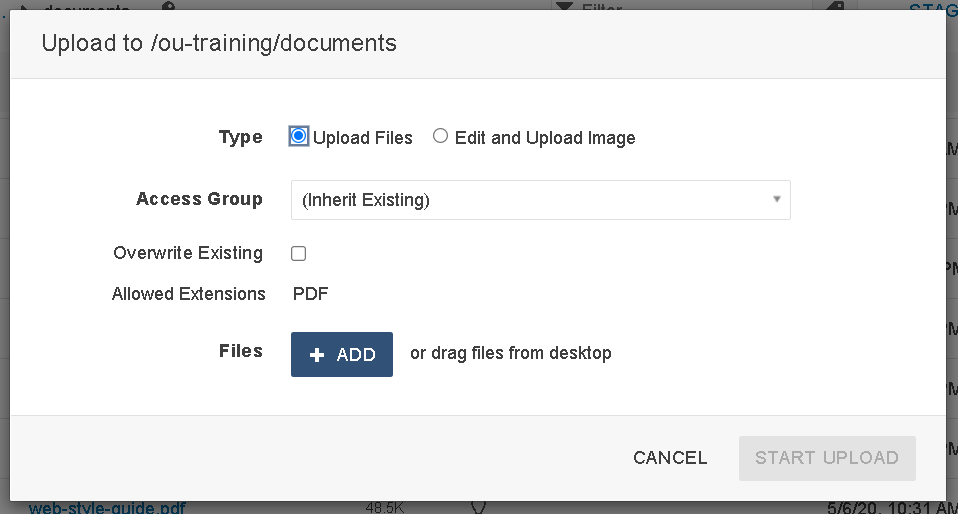
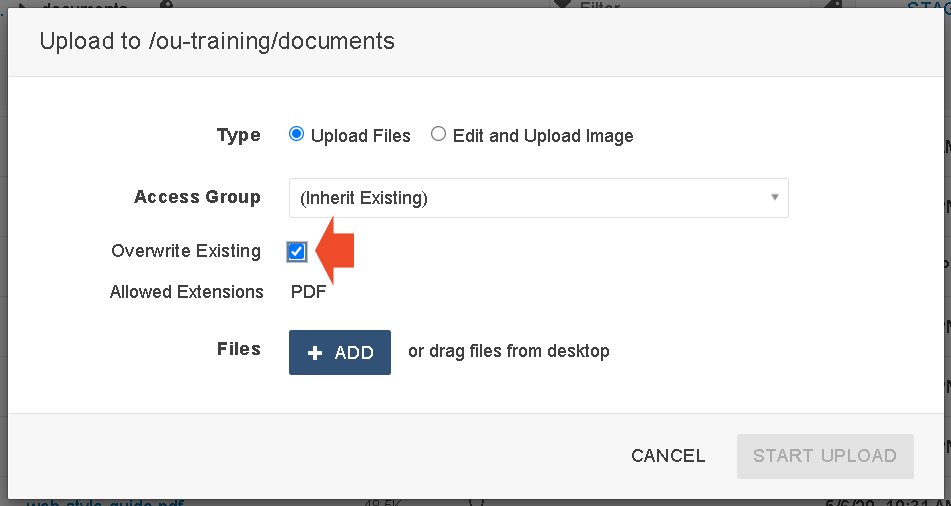
- Make sure the Overwrite Existing box is checked.
If you do not check the Overwrite Existing box, when you try to upload the file, the status will show up as “Filename already in use” and will not allow you to move forward.
It will look like this: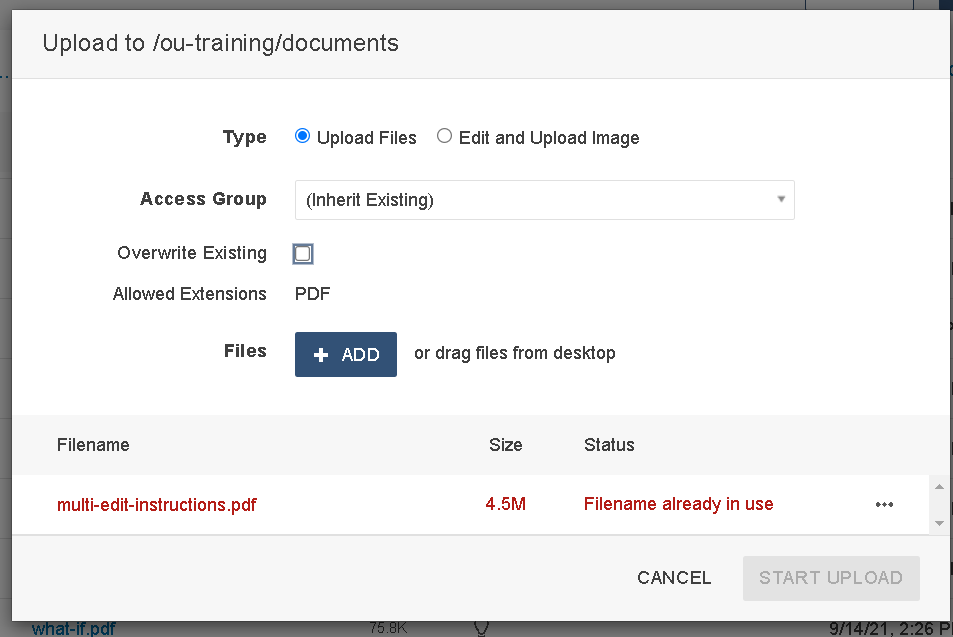
- Drag the new file from your desktop or click the + Add button and select it from your files.
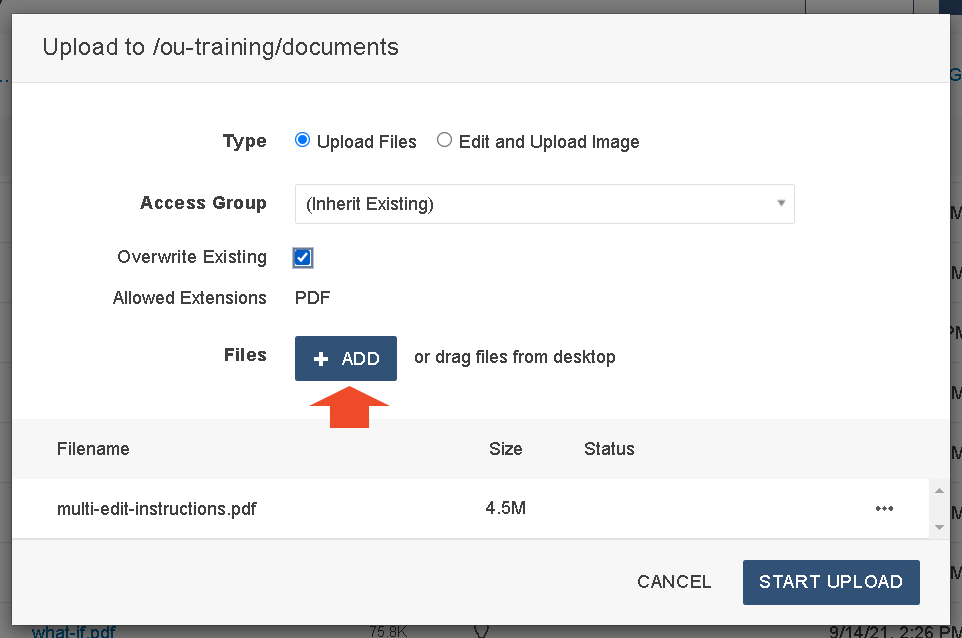
Now the filename should appear without any error message, as shown in the image below:
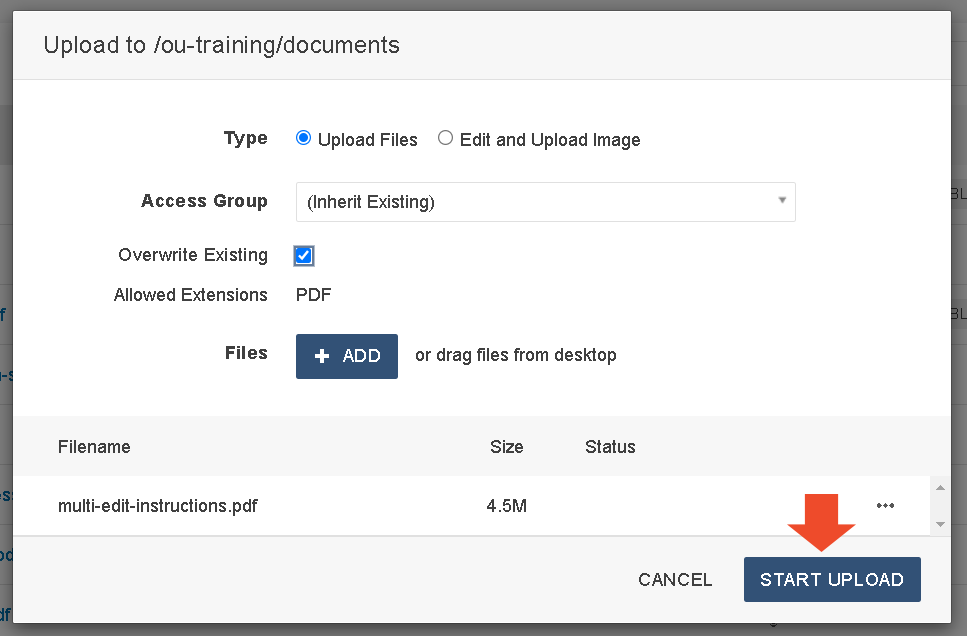
- Once you have done that, click Start Upload.
- Now the document is overwritten. Publish the document. Then publish the page that the document appear on.

- If you check it and the old document is still appearing, try the following:
- Refresh the page.
- Hard refresh the page by clicking shift+command+R on your keyboard.
- Open an incognito window in your browser and check the page again.