Insert a Section Anchor in an Omni CMS Page
Step-by-Step Instructions
Follow these directions to insert an anchor on a page in Omni CMS.
Place your cursor where you want the link to take people on the page. Click the anchor icon in the upper right near the link icon.
NOTE: The top of the page will be the line after the line you have selected to insert your anchor tag.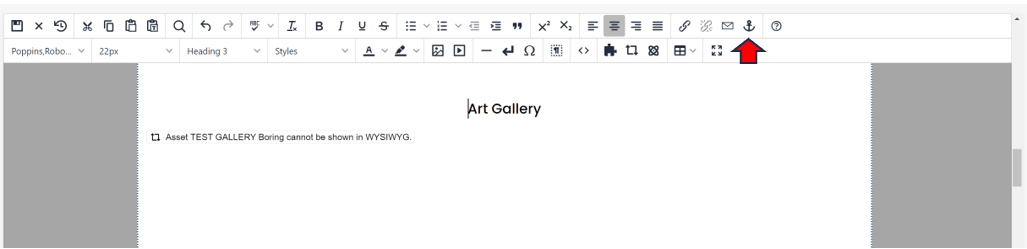
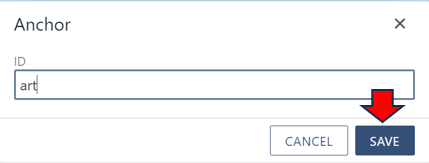
Put in a name for your anchor with no spaces and all lowercase and click save.
Click the insert/edit link button on the edit toolbar.
NOTE: You can also right click and use the insert/edit link option that comes up.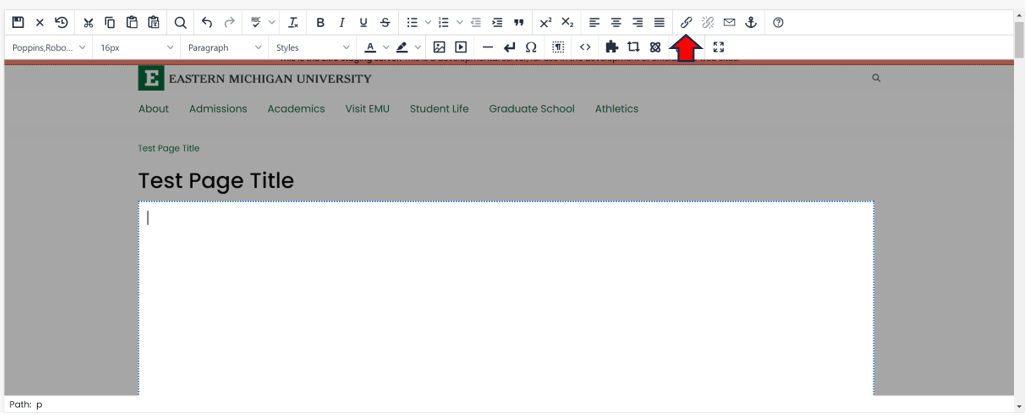
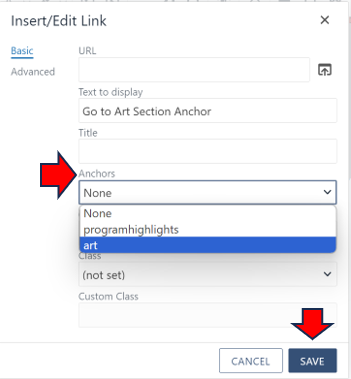
The insert/edit link window is displayed. Leave the URL blank and enter the “Text to display”. Next, select the drop-down menu under anchors and select the name of your anchor. The URL will automatically be filled with #YourAnchorName. Next click SAVE to insert the link.
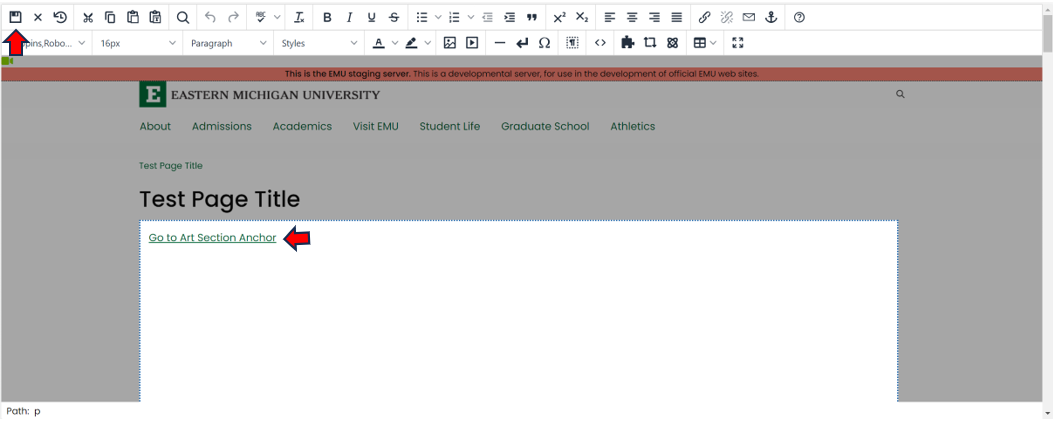
The link is inserted into the selected editable region. When you are finished making edits, click the save button on the toolbar.
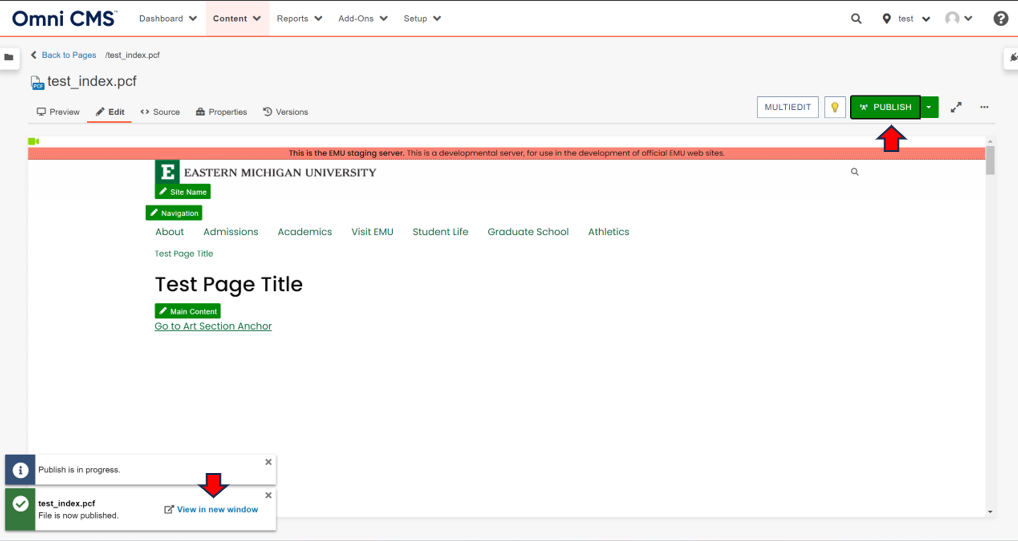
Click the publish button and then click the "View in new window" link. This will bring up your new page. Click on your link and make sure it is working.